20 coolest birthday cards with their own hands
Do It Yourself Educational Program / / December 19, 2019
How to make a card with a cake for his birthday
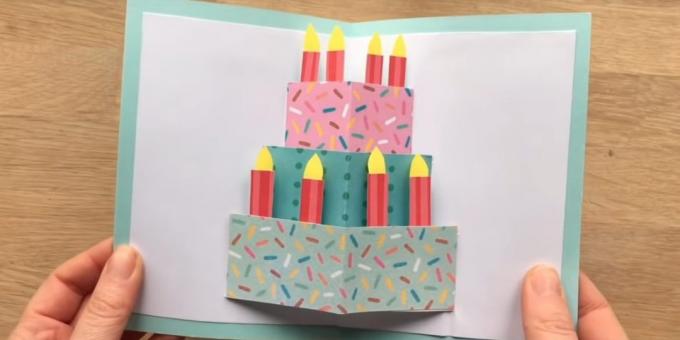
What do you need
- Solid blue or turquoise double-sided paper;
- scissors;
- line;
- a pencil;
- dense white paper;
- colored paper with drawings and patterns;
- glue stick.
How to do
1. Cut out of blue or turquoise paper box measuring 15 x 11 cm. Fold it in half crosswise. White rectangle cut sheet size 14 x 10 cm.

2. Fold the white piece crosswise in half. From the fold side make four incisions at equal distance from each other. The first two (bottom of the paper) should be identical. The third - to about 1 cm shorter, while the fourth - a little less than the length.
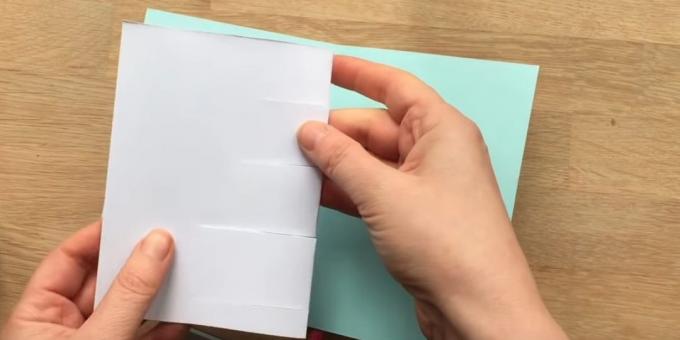
3. Fold the cut parts as shown in the photo.
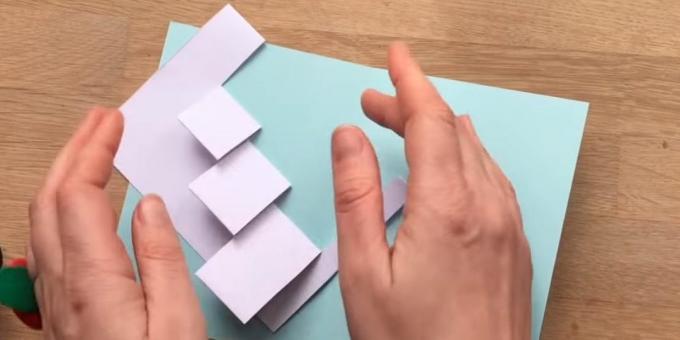
4. Unfold the strip and open the paper. Fold the cut parts inside of the intended folds.
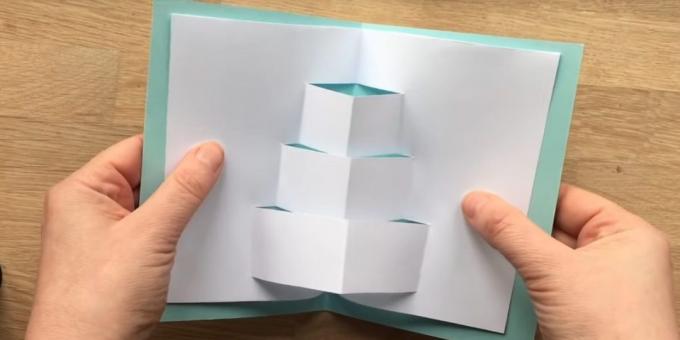
5. Cut out a rectangle of colored paper three layers of the future size of the cake. Height they should be quite a bit more white stripes. Fold them in half and glue to the sheet.

6. Again, bend and unbend the white sheet to the line on the cake was more clearly visible. Bright paper cut of a few candles in the form of small rectangles, and of yellow - the same figures-droplets. Glue droplets to light a candle, and they - the cake.
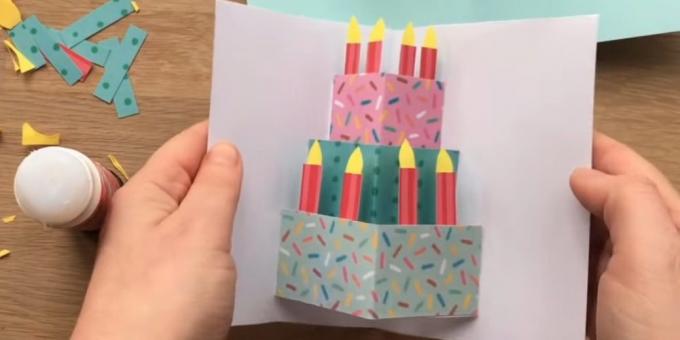
7. Grease glue a white paper on the back side and attach it to the blue base. Postcard can be signed next to a cake or outside.
What other options are there
Incredibly beautiful card with surround round cake:
Within this option hides a piece of festive dessert:
print template, Cut along the lines and create just such a card:
But, perhaps, the easiest option: with a painted cake. Looks simple, but very cute:
How to make a card with balloons birthday

What do you need
- Thick gray paper;
- sided paper of different colors;
- line;
- a pencil;
- scissors;
- double sided tape;
- compass;
- ordinary glue and / or glue stick;
- glue gun;
- twine or other thick thread;
- White paper;
- highlighter;
- glue stick;
- colored ribbon.
How to do
1. Bend the gray construction paper in half crosswise. Cut a rectangle with sides 20 and 14 cm from pink sheet. Cut a rectangle of 16 x 10 cm from the gray thick paper.
Using double-sided tape glue a small piece gray to pink and the latest fix on the cover of the future cards.
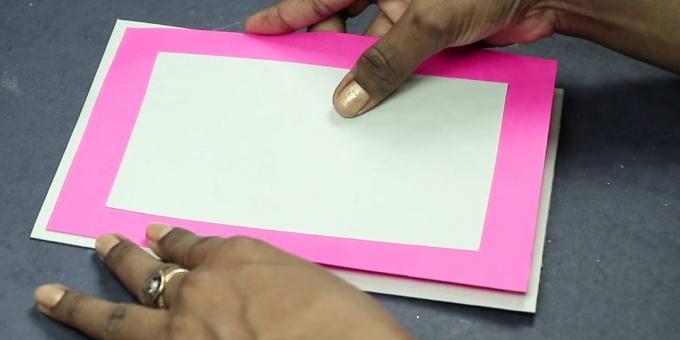
2. Slice of colored paper many strips of different thicknesses, but of the same length. This preform for the balls. Conditionally divide one strip into three parts, and double fold along the lines.
Draw to get the details a circle with the help of a compass. Cut along the contour - you will be three circles.
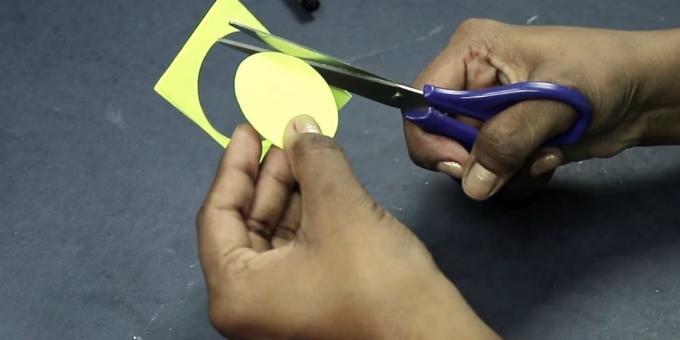
3. In the same way, prepare the remaining circles of colored stripes.

4. From the remnants of the folded paper cut into small triangles. Glue them to the bottom of each circle.
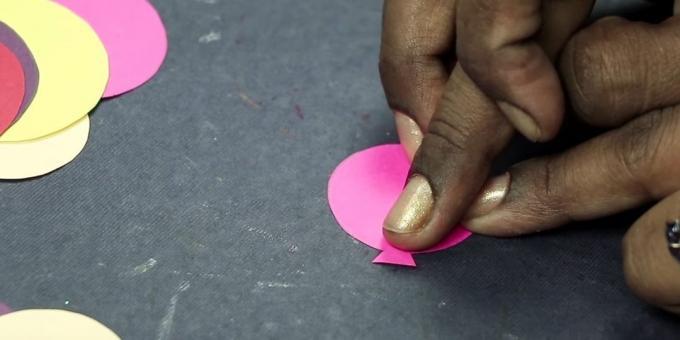
5. Fold a small strip of paper in half. Unfold and fold each side of the accordion, as shown in the photos and in the video below.

6. Make as many of the same items as you get the ball. Glue them to the circle so that the harmonica was on top.
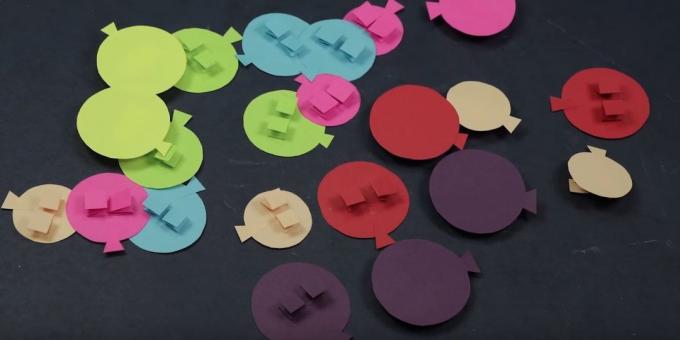
7. To each ball with glue-gun, attach a piece of twine or other thick strand.

8. Fold long edges of the white paper about 2 cm and cut along the contour so as to obtain two bent along the strip. Three fold each one in half crosswise. Cut out triangles are the same so that the base figures were at the crease. The details are in the video below.
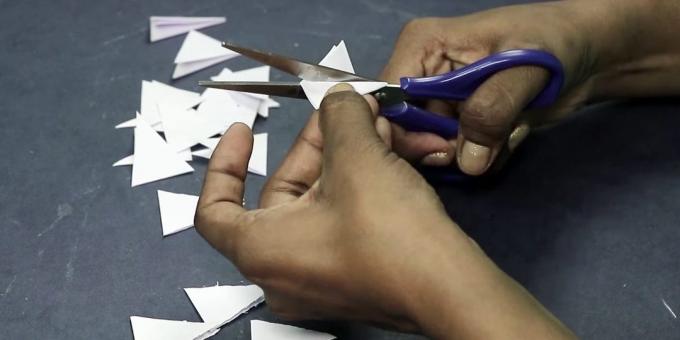
9. Write on each triangle one letter of the phrase "Happy Birthday." Grease the inside of the boxes with glue, put on two pieces of rope and glue. Tie the ends of the two bechovok.

10. Lubricate the adhesive from the back side bellows beads and beautifully arrange them inside the card. Leave some for the cover.

11. Tie the ends of bechovok, twisted and cut off the excess. With glue-gun to attach the card boxes with letters.

12. Write at the bottom of the cover greeting inscription. Glue the top few balls. Cut off the excess twine and tie it with tape.
What other options are there
You can make three-dimensional postcard with balls flying off out of the box:
Here is a similar version:
Here's how to make beads quilling technique:
A is a simple card, applications executed in the art:
How to make a card with flowers on birthday
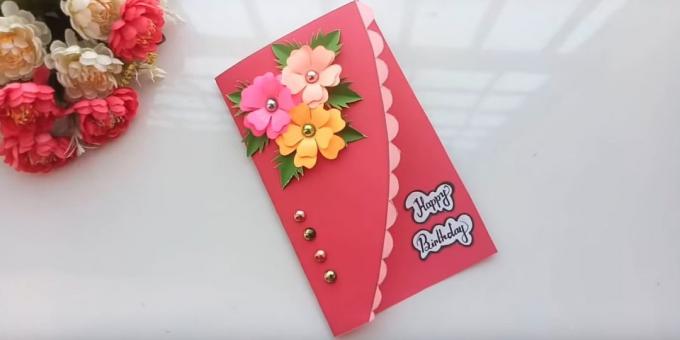
What do you need
- Dense crimson-sided paper;
- a pencil;
- scissors;
- pink-sided paper;
- glue;
- colored paper or Stickers;
- several beads;
- White paper.
How to do
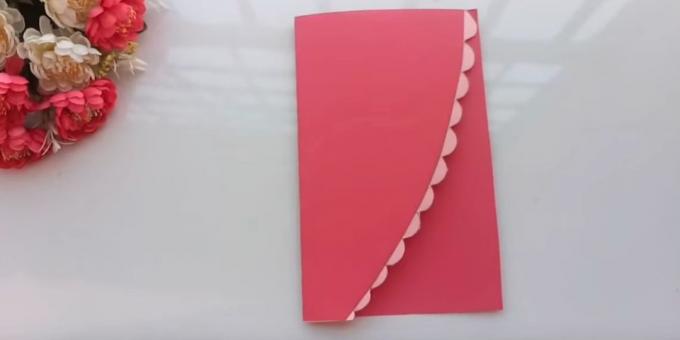
1. Bend crimson paper in half crosswise. Draw a smooth line in front, as shown in the photo, and cut along the contour.
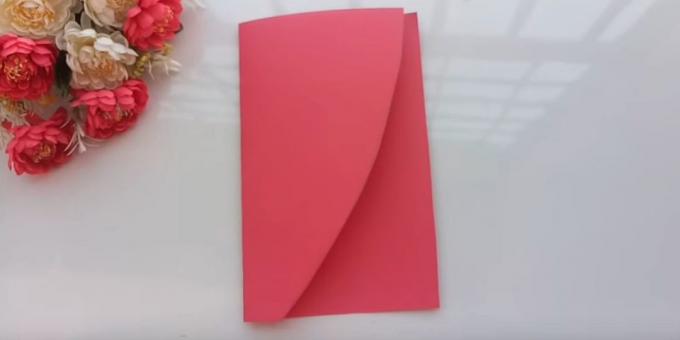
2. Divide a sheet of pink paper with scissors across half. Half should be of the same size as the card folded. Glue the paper to the back cover.
Along the edge of the cover on pink paper, draw a semicircle. For convenience, you can trace the cover or anything else. Cut along the contour.
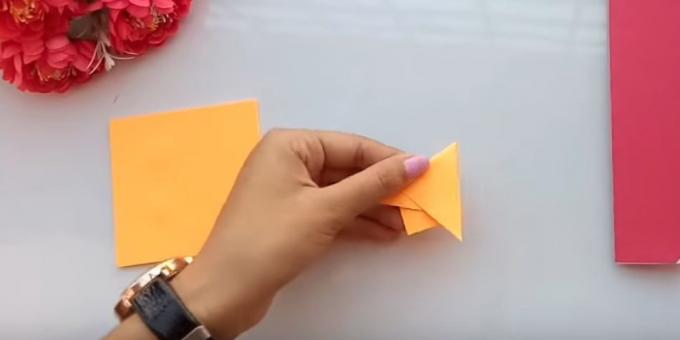
3. Form of paper of three different colors, two identical small square. You can use the stickers without adhesive base.
Fold one diagonally. Then bend the corners as shown in the photo or in the video below.
4. From the side of the corner, draw a figure on something like a heart and cut along the contour.

5. Open the item and tighten up the petals with a pencil. In the same way a second fold a square of the same color, draw a heart on it, and cut it out. Uncover shade beginning petals and tighten up their outside. Make a small incision in one place between the petals and stick one tab to another.
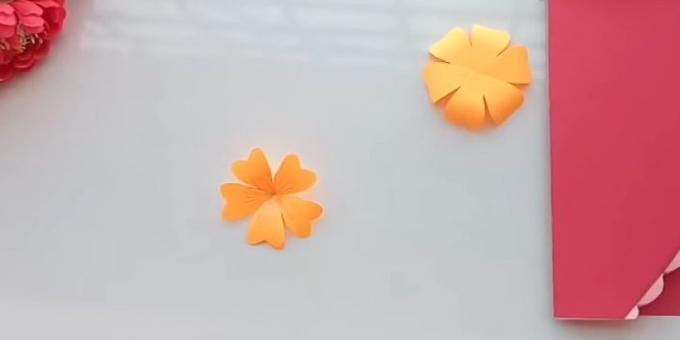
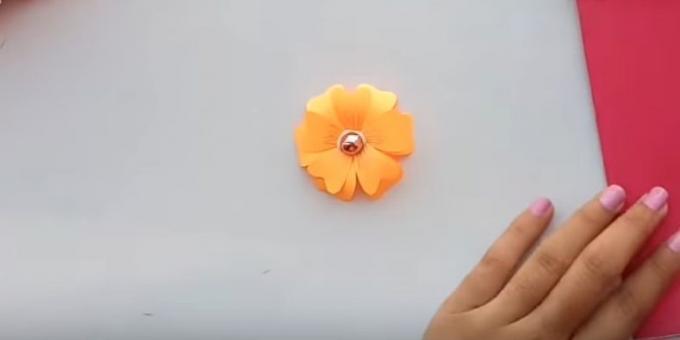
6. Secure the second on the first flower. In the middle, place the bead. Similarly, do two more flower.
7. Cut several small rectangles of green paper. It can be divided into two parts green stickers.
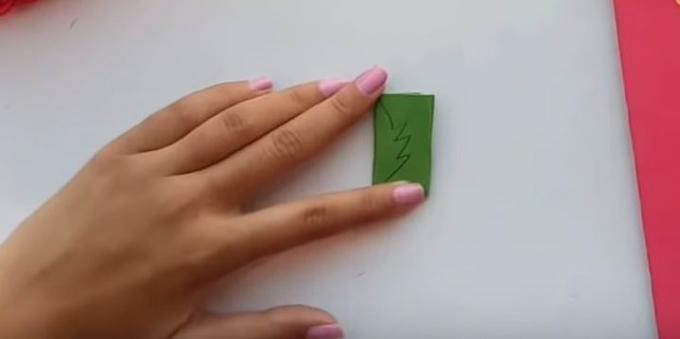
Fold the rectangle in half crosswise, then - again. Draw on the part half leaf. Cut along the contour. You will get two leaves. In the same way do six more pieces.
8. Glue to the top of the postcard flowers and leaves.
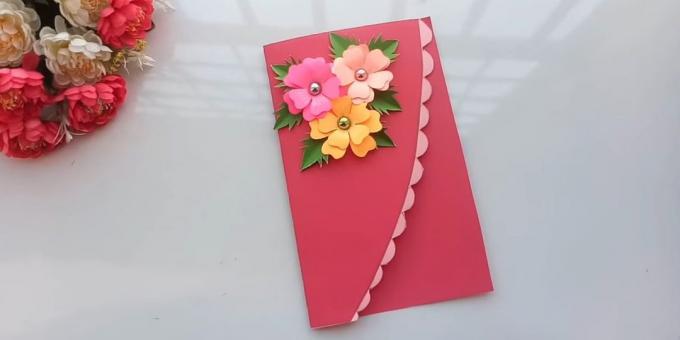
9. In the fold on the front cover, attach a few beads. On white paper write a greeting inscription, cut and paste it to the backsheet cards in the part that is visible from the front.
You can write a greeting, gluing inside the white paper. Or supplement postcard inserts inside interesting, as it was done in a master class.
What other options are there
Here's how to make voluminous flower inside greeting:
In this manual, the flowers are carried out very simply - of twisted spirals:
But card-bouquet. The flowers are made on the same principle as in the previous video:
How to make a retractable-postcard muffin birthday

What do you need
- Pink-sided paper;
- line;
- a pencil;
- scissors;
- glue;
- White paper;
- double-sided tape voluminous;
- paper of different colors;
- Red ribbon;
- felt-tip pen.
How to do
1. Fold pink sheet of paper in half. Position it so that the bottom was a crook. On one edge apply a slight slope line and draw a line. Around the middle of conduct another slash so that the figure resembled a pot.
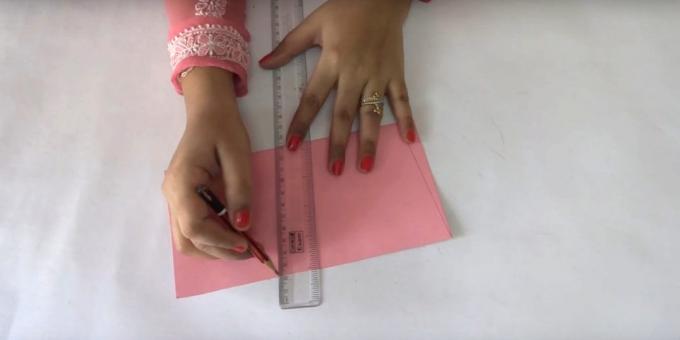
2. Cut a piece of the planned lines. Lubricate the adhesive side edges within the shape.
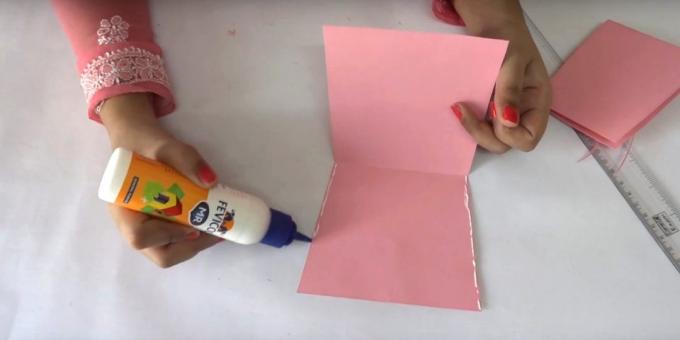
3. Connect the elements and press the sides of the paper so that it gelled. Include in the resulting pocket ruler and measure the distance from the bottom to the edge. Measure the length and also the lower edge of the figure, step back a little on the side. The author has published 9 cm.
Draw a rectangle on the white paper. The two sides should be 9 cm (or other value that you got), while the other two - a few centimeters longer than the distance from the bottom to the edge of the figure.
The resulting rectangle should easily enter the pink pocket. Cut the white part.

4. Put the item in a pocket. Measure the length of its upper edge and the height of the pocket, together with the inserted white part.
Draw on white paper another rectangle. Its length should be 2-3 cm longer edge pocket, and the desired width equal to about half of the measured height.
Draw a rectangle in shape, like a cloud.
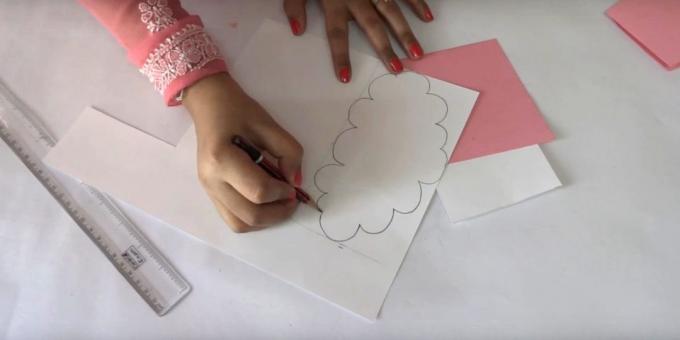
5. Cut the cloud. Attach it to the top of the white part so that it is tucked in pink. For the convenience of a pencil mark the place of contact.
Remove the cloud. Adhere to a prominent part of the white part several pieces of adhesive tape volume. Attach them to the cloud, attaching it to the pencil marks.
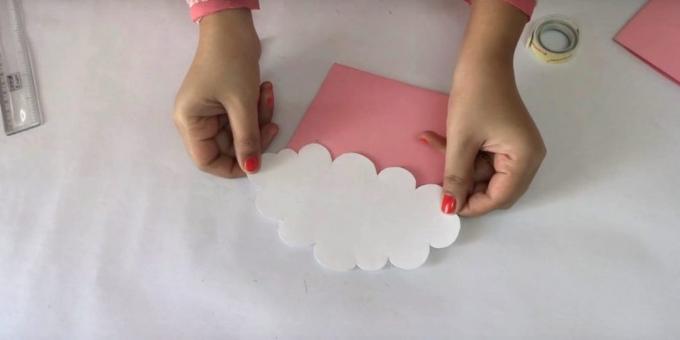
6. Cut out of colored paper small circles of different diameters. Glue them to the cream, that is, to the details in the form of a cloud. From red paper heart cut out and attach it to the top.
Tie side of the ribbon bow. Of white paper cut out a small tag - rectangle with cut corners. Write on it, "For you," or congratulations.
Glue this element in the bottom of the card and on the label horizontally, attach the tape.

7. The ends of the tape stick to the back of the cards. Congratulations to remove the white parts.
How to make a greeting card in the form of a heart with flowers on birthday

What do you need
- Tight pink or crimson-sided paper;
- scissors;
- line;
- a pencil;
- White paper;
- stationery knife;
- glue;
- self-adhesive rhinestones;
- peach-sided paper;
- correction fluid as a handle;
- hole puncher;
- pink ribbon.
How to do
1. Cut out of pink thick paper piece of 30 x 15 cm. On each side make a mark at a distance of 7.5 cm from the edges.
Vertically attach a line to these strokes on one side. Fold the paper along the line. Likewise bend the sheet with the other edge.
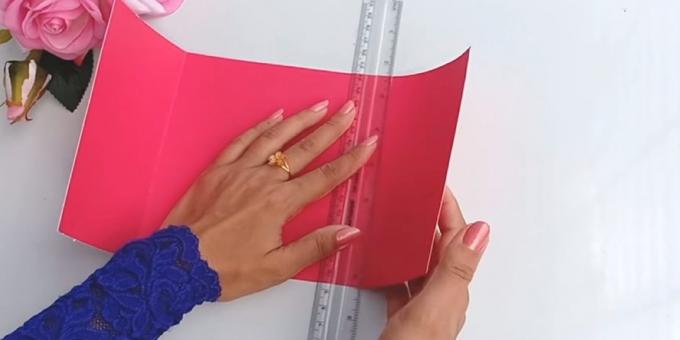
2. Fold the card in the future fold lines. Cut out white paper detail: its width must be equal to the width of cards, and height - to be a little less. Fold it in half crosswise.
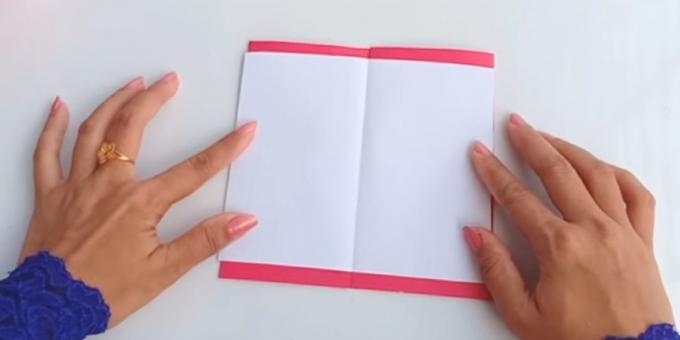
3. Draw on one side of white paper of the heart and cut along the contour.

4. Open the heart, attach it to the card and drag circuit. Using a ruler, add two horizontal bars above and below where the figure ends. Top, near the middle, draw two small vertical lines.
Lines are visible in the photo. And in the video below has all the details.
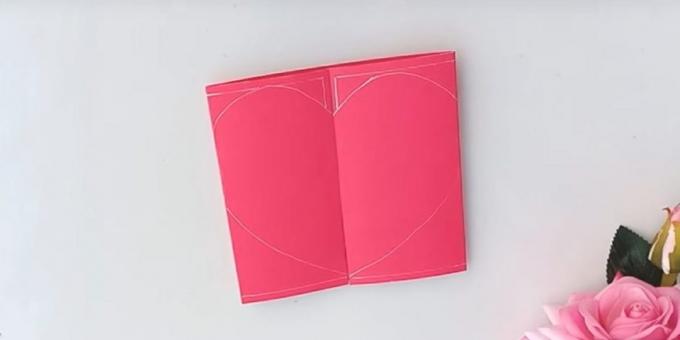
5. Open the card and cut paper along the lines on both sides of office knife.
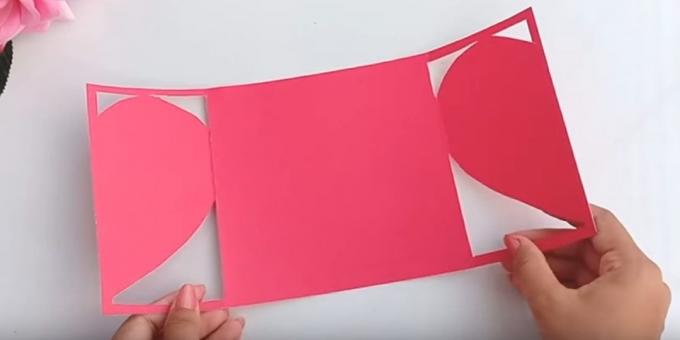
6. Cut a piece of white paper the size of the back of the cards. The height should be slightly less than that above and below could see a pink color. Glue the piece inside.

7. Close the card. Garnish with heart sequins around the edges.

8. Cut out of three peach paper squares with sides 4 and 5 cm. Double fold each piece in half. You will turn small squares.
On one of them, closer to the corner, draw a circle. In the corner draw a sort of triangle.
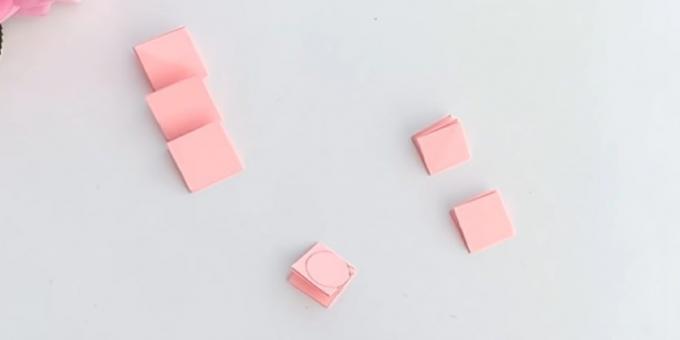
9. Cut a piece of the contours and expand it - it will flower. Make the same elements of the other squares. Using a pencil pitch tighten up inside.

10. Lubricate the adhesive edge of each petal small flower and glue them together, to get the bud. The detailed process is shown in the video below.
Grease glue second flower petals of the same size and adhere thereto the first bud. Then, in the same manner attach the third item.
Glue each other great items, and on top - to attach the resulting lush bud.
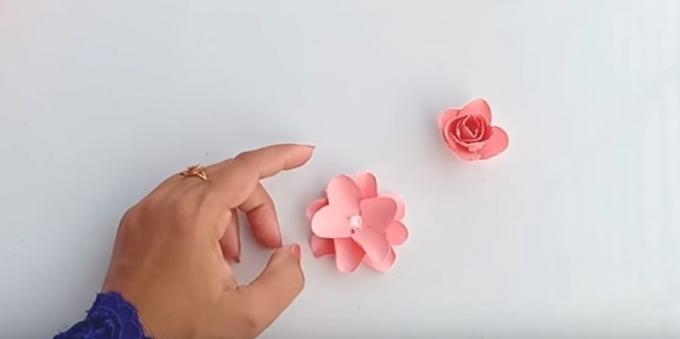
11. Make two more flower, one of the same size, the other - less. Glue all three side of the heart.

12. Corrector on the other side of the heart write a greeting sign. Inside the card is also output the nice words. Do punch one hole in the middle of the heart, to thread the ribbon and tie a bow.
How to make a card with the butterfly birthday
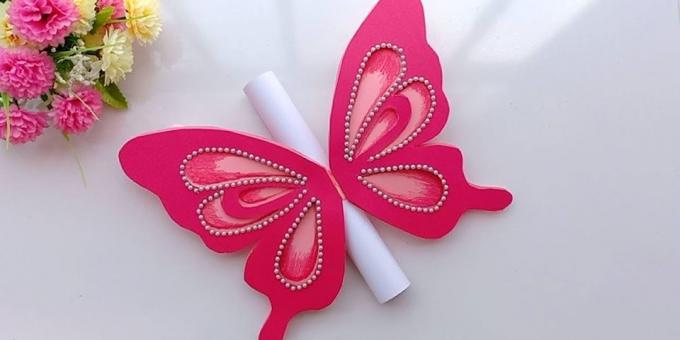
What do you need
- White paper;
- a pencil;
- scissors;
- stationery knife;
- crimson-sided paper;
- pink-sided paper;
- double-sided tape voluminous;
- pink or red pencil;
- self-adhesive rhinestones;
- pink or peach tape;
- simple two-sided tape.
How to do
1. Fold a piece of white paper in half crosswise. Draw on it the outline of a butterfly as shown in the photos and in the video below.

2. Cut out the shape. Open the butterfly and share it with scissors into two equal parts. One of them will serve as a template.
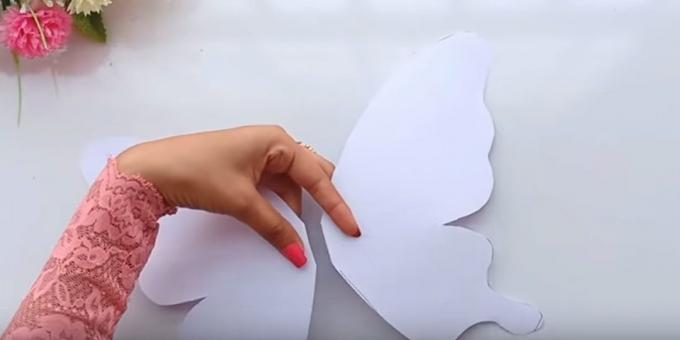
3. Draw the pattern on the template, as shown in the photo or in the video below. Walk on the pencil sketches office knife and remove the excess paper.
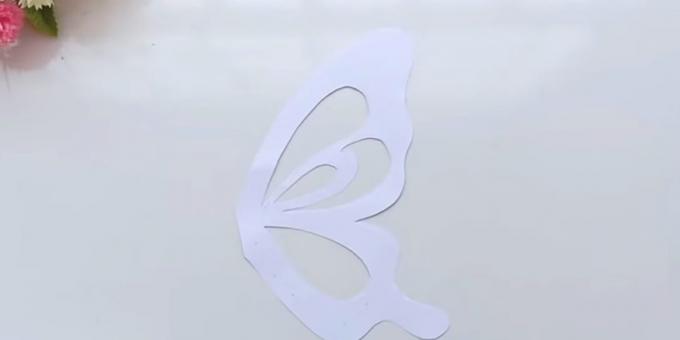
4. Attach the template to the raspberry leaf and draw the contours of the inside and outside. Cut a piece with scissors, and a knife, remove the excess paper to get the pattern. In the same way do the second wing.
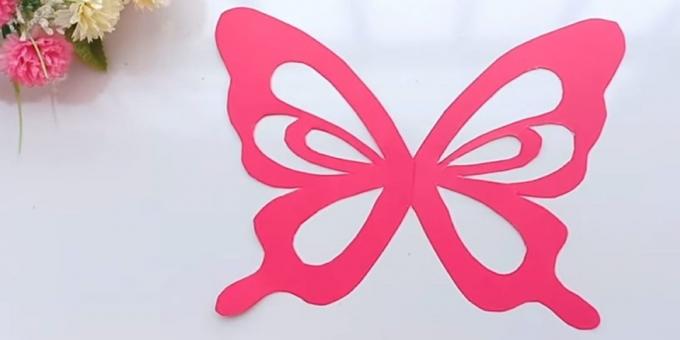
5. Attach one wing to the pink paper and trace the inner and outer contours. Next to attach the second wing and do the same.
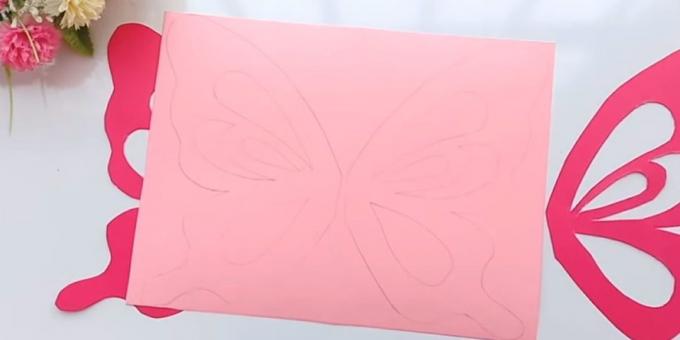
6. Cut out the pink part of the outer contour. Brush the edges of patterns in colored pencil.
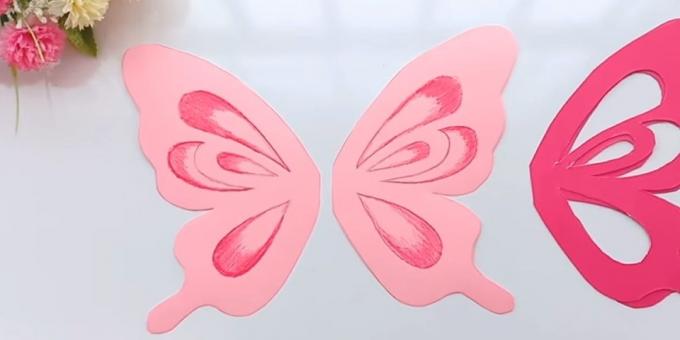
7. Glue parts crimson to pink with volumetric tape. Details are in video instructions below. Decorate wings with rhinestones.
Cut a piece of tape around the edges, attach a simple double sided tape. Glue the wings to him.

8. Along the edges of the tape, from opposite sides, take on a small vertical incision. Congratulations on a white paper and roll it into a tube. Wrap her belt and "button" for the cuts.
What other options are there
Here is another similar composition:
Here's how to make a postcard with an elegant carved butterfly:
And another cute version with volumetric butterfly and unusual artwork:

