How to make the organizer of the book
Do It Yourself Work And Study / / December 19, 2019
As well it is nice to do something with their own hands. And if that "something" more and it will be very helpful in travel, traveling, and indeed in everyday life - a double pleasure. Try to combine in one place all of your cables, flash drives and other small Soup to your mobile devices, which often have to carry. Horror.

Now imagine that all of them are carefully distributed in a compact, stylish organizer. We'll show you how to make a personal organizer with his own hands.
materials
In order to make such a useful thing, you do not need any expensive or rare materials (not including the cost of the book). So, what we need:
- The big book with a hard cover (something you have to sacrifice)
- A web of durable material (neoprene is fine)
- thick cardboard
- Elastic band width 0.5-1 centimeter (take with a margin of 10 meters should be sufficient)
- Pins / needles black thread
- universal adhesive
- Stationery knife / scissors, an awl, a ruler
proceed
Optional fully follow the instructions, connect the imagination and create a unique organizer, it is most suitable for your needs.
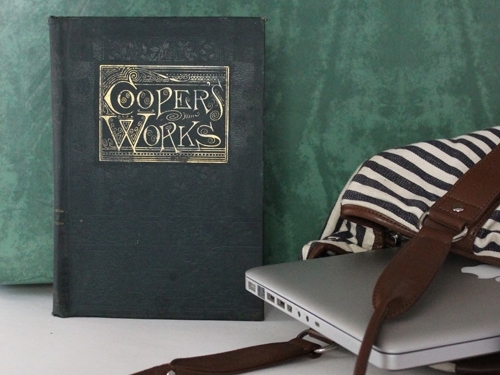
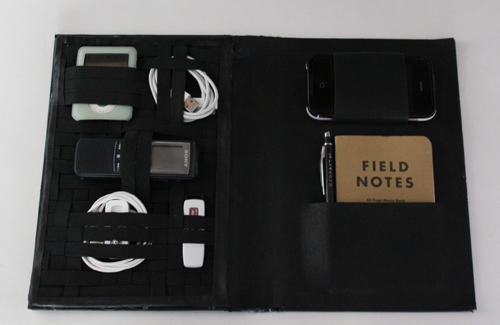
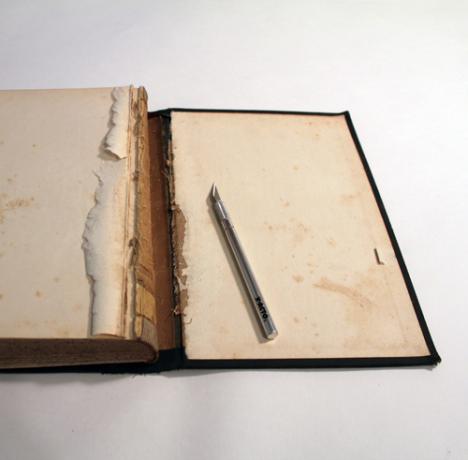




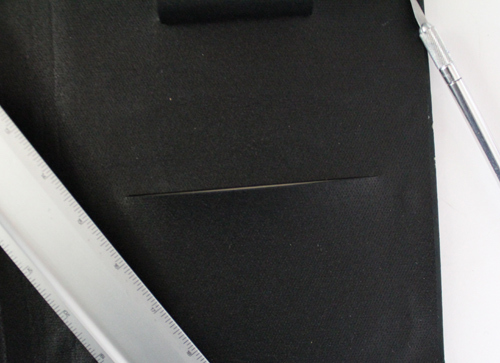
1. Using a knife, gently separate the cover of the book by pages at the same time try not to damage it.
2. Put the cover on the open neoprene fabric and trace the outline of the cover. We need to reduce the resulting circuit size of approximately 0.3-0.5 centimeters on each side. Cut the resulting rectangle.
3. Take a rubber band and cut it into strips. You will need as many bars to stacked close to each other, they cover the entire half covers an area of two layers: vertical and horizontal. As a result, you'll have a few long strips, and a little more short strips.
4. Take long strips, Pin them with a needle / pins to the fabric edge. Pinning them on the other end is not yet necessary. Then sew them from one side to the edge of the fabric, and then remove the pins.
5. Next you need to sew a short strip. Sew them, in contrast to long strips may be immediately on both sides.
It should say at once that in the end we have a kind of "grid" should turn out, so if you think in advance the location of all of your devices on it, you can make the optimum size of the cell for each cable, USB drive, etc.
Another important point is that the device does not fall out placed under the grid, it is necessary to sew the strips so that they were quite a bit strained.
6. It remains to sew the long strips on the other end, and then cut off all the excess gum sticking.
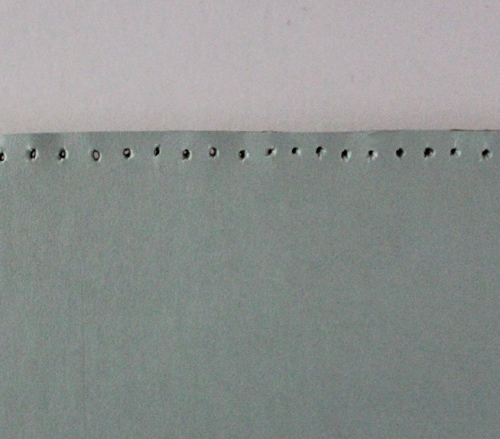
7. Take a thick cardboard, and cut out a rectangle the size of the front cover of the book. Now it is necessary to make holes on the perimeter of a sheet of cardboard with an awl.
8. Tightly sew cardboard to the rear side of the neoprene sheet.
9. For beauty and improving the wear resistance, to glue or sew the edges of the grid strips of any gum tissue.
10. In the second half of the neoprene fabric you can cut the "pockets" for your mobile device, portable music player, etc. If you have the desire, the need, time and patience, you can make a grid of the gums and for the second half canvases.
11. It remains to glue our masterpiece to the cover of the book. Pay attention to the need for well-coated with adhesive edges of the surfaces, but do not overdo it with the amount of glue. Then put almost ready organizer on a flat, hard surface and push something at the time of the glue dries.
12. Admire their incredible skills to tailor / pokleyschika.
Huge storage plus there is a lack of variety of cables tangling. Who wears headphones and other thin wires in a bag or pocket, he knows what I mean.


