The tablet of Raspberry Pi with their hands
Do It Yourself Devices / / December 19, 2019
Today you can buy anything: any tablet, any computer. But nothing can replace geek microcomputer with its own touchscreen and a bunch of ports.
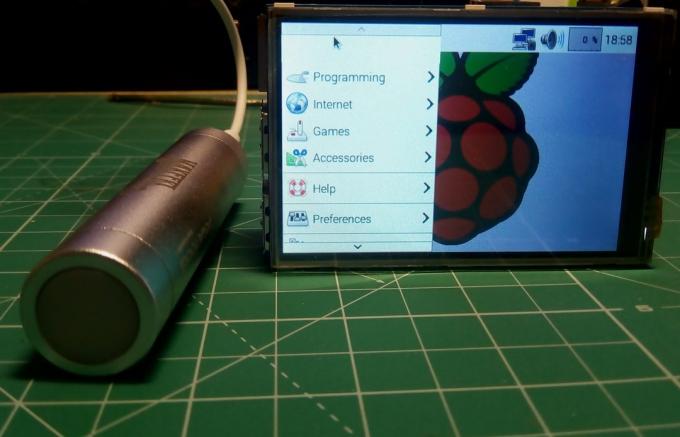
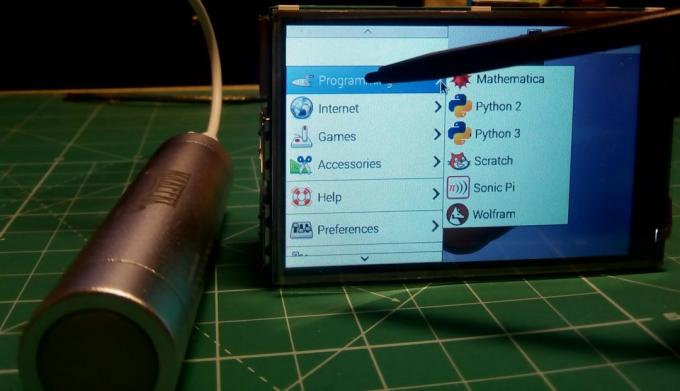
Microcomputer Raspberry Pi It is not only the widest range of applications, but also support for third-party devices, significantly extend the functionality of the board. Today we look at the simplest way to learn to work with the Raspberry Pi touchscreen. And in the end we will get a tiny tablet with a desktop operating system.
What are the screens for Raspberry Pi

There are at least three ways to connect the screen:
- Display-port in the form of a clamping connector on the front surface.
- HDMI-connector.
- Pina GPIO - Universal IO connector.
All of them allow you to connect to the Raspberry Pi with touch screens.
Some standard LCD-panel (developer and embedded devices) operate through display connector. There are original 7-inch screenInstalled on the back side Raspberry. Unfortunately, this option is very expensive, but to run it requires nothing. Just download the system and insert the USB flash drive with it. In the conventional Raspbian (Debian for Raspberry Pi) provides native support of this piece of iron.

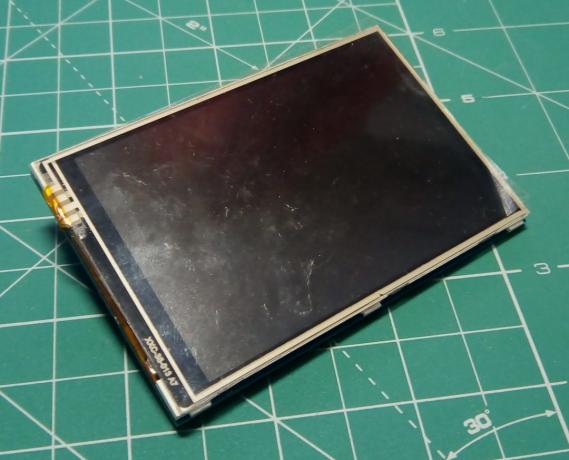
A more affordable option, especially in the CIS countries, where the delivery of the UK is killing the charm of "Raspberries", steel screens companies WaveShare, working through GPIO. Why? This allows a screen support in any variants NIX-systems for the Raspberry Pi with any versions of the board (for Raspberry Pi 2 and 3 uses a distribution for the first revision - separate) and simplify configuring and debug obtained system. In addition, they are readily available and cost just $ 23.
How to connect

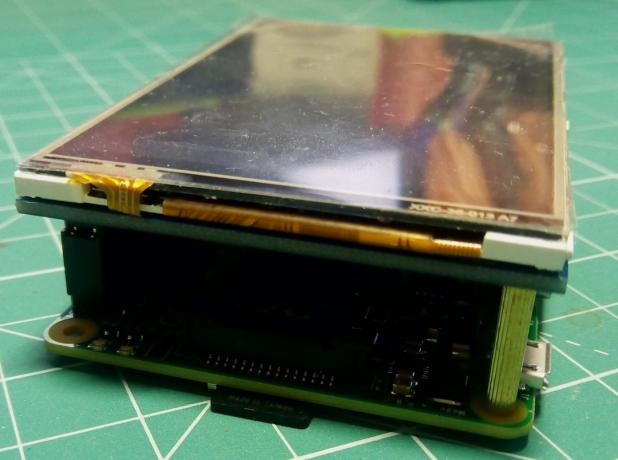
Nothing could be simpler: all you need to unpack, and then connect the display to the GPIO-connectors Raspberry Pi. Not need to even take the pins - simply align the board so that the screen is exactly above the main board.

How to setup
There are two methods: download ready distribution or configure the system themselves. The first would require to go to the official project page. Then select the appropriate distribution, download and burn it to a USB flash drive. Inserted, we connect the power - to enjoy the work. Unfortunately, in this case, will have to settle for an outdated version of the operating system.

The second method is suitable already familiar with Linux users and first need to install the drivers in the system, and then transfer the computer to a resistive display. With instructions can be found at official website. By the way, this same technology can connect the same side of the screen manufacturer.

Unfortunately, neither the one nor the other method does not force to work simultaneously and the screen connected through the GPIO, and HDMI-port. Implement broadcast on TV or monitor, you can have inside the system, connect the monitor as an additional screen.

