How to make a chandelier designer with his own hands
Do It Yourself Educational Program / / December 19, 2019
Unusual lamps made of wood, thread, bottles, and the globe, not only will bring zest to your interior.
For all chandeliers, other than glass, it is better to choose the LED light bulb. They are less heat during use.
1. How to make a chandelier with his hands out of yarn tassels and hoop

What do you need
- Yarn;
- small picture frame;
- scissors;
- 3 sets of different diameter wooden embroidery frame;
- 3, the same short and long metal chain 1;
- pliers;
- light;
- suspension lamp.
How to do
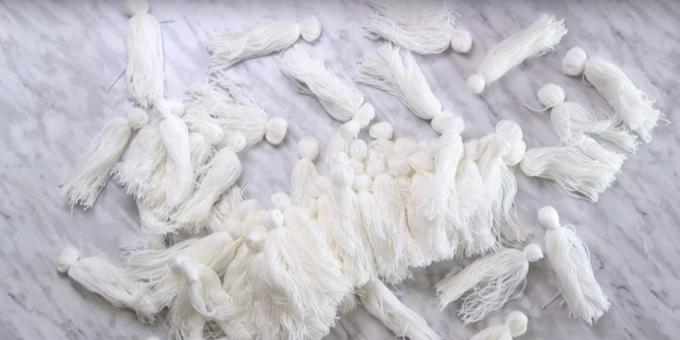
1. Wrap the yarn around the picture frame and cut many times. Take a small piece of yarn and tie it on top of the yarn so that the tips were. Cut the thread with one hand, where there is an opening of the frame.

2. Remove the yarn from the frame and fold in half. Place in the middle of the fastened thread so that it ends at the bottom were, and on top - a loop. The details are in the video below. Cut another piece of yarn and tie it brush just below the hinge.

3. In the same way do the rest of the brush. The amount depends on the diameter of the hoop. Threads must tightly enclose it.
4. Remove the central hoop hoops at all - you need them. Open the large hoop and put them on a part of the loop brush.

5. Close the large hoop. Similarly, put the brush on the other.

6. Make nine segments of the thread. Place medium in a large hoop and tie them in three places at the same distance from each other.

7. Inside lay a small hoop and tie it to the middle in three places. These threads should be located approximately midway between those which are associated with large and medium.

8. Turn structure and flatten the brush. Tie short chains to large hoop equidistant from each other.
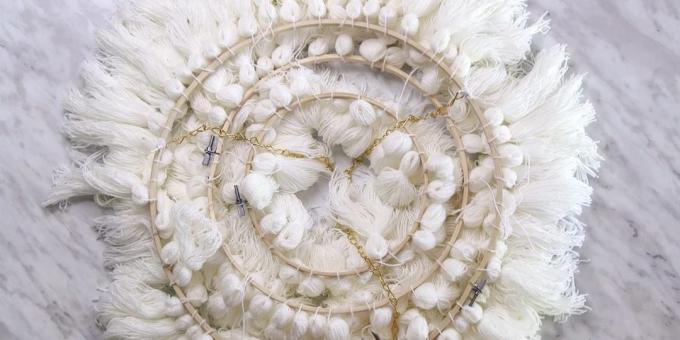
9. Pliers, expand the extreme link in a long chain. Put it attached by a chain and close.
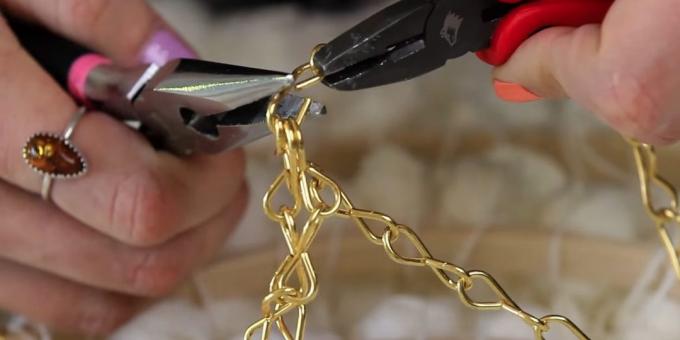
10. Attach to the ceiling suspension, screw the light bulb and insert below the lampshade. Long chain can be hung, for example, on a hook, fitted on the ceiling near the base of the chandelier.
What other options are there
There is another way to mount the chandelier. Wear on the suspension for the lamp metal ring and attach the chain linked to the ring. The detailed process is shown in the video below. Incidentally, the manufacturing technology of brushes there is a little different. And yet the author does not use the hoop and the metal hoops.
The tips of the brushes can be painted in a contrasting color:
Or make a gradient chandelier of colored thread, like this:
2. How to make a chandelier with his own hands from the globe

What do you need
- Globe;
- drill;
- stationery knife;
- marker or pencil;
- Pendant lamp;
- light.
How to do
1. Remove the globe from its base. In the lower part is passed around a drill hole and cut. The details are in the video below.

2. On the other hand they mark the top circle to the size of the cartridge bulb. Also walk through it with a drill and cut out the hole.

3. Take on the globe a few holes with a drill in any places. You can walk around the edges of continents, or select any country. Through holes will trickle beautiful light.

4. Secure suspension for light bulbs, screw it and hang a chandelier.
3. How to make a chandelier with his own hands from the thread
What do you need
- Balloon;
- PVA glue;
- water;
- highlighter;
- thick skin, such as yarn or twine;
- scissors;
- Pendant lamp;
- light.
How to do
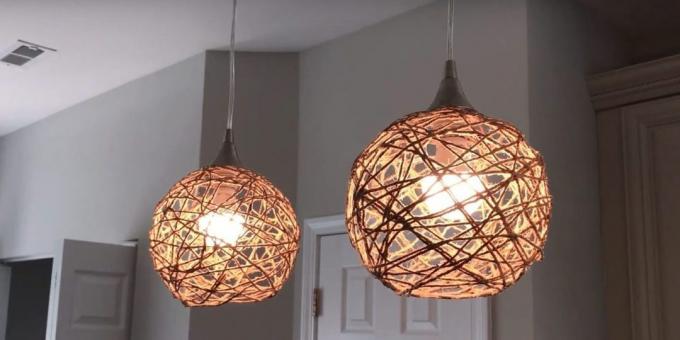
1. Inflate the balloon. Mix glue and water in a ratio of about 2: 1. Water can take even less.
Draw on that part of the ball, where the air enters, the small circle size for suspension lamps. On the reverse side draw a circle of greater diameter: circle for convenience can be, for example, glass.
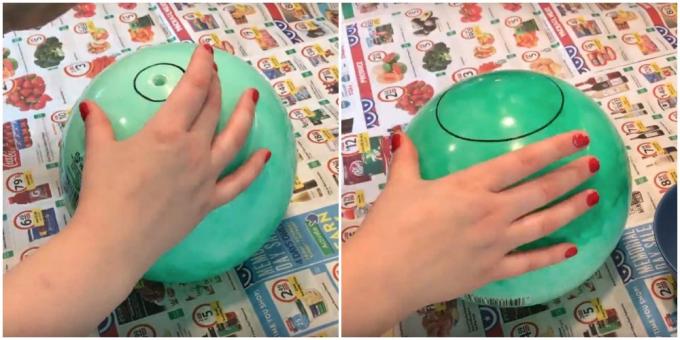
2. Working surface is better to lay newspapers or oilcloth, and put on gloves hands. Thoroughly moisten the adhesive solution in the thread and start to wrap their ball.

3. Continue paste thread ball, being careful not to touch the circled column circumference. Arrange them randomly. Density layer depends on your taste: one can completely cover or leave blank space.

4. Leave the design to dry for about two days. Then drain the bowl and gently pull it out.

5. Insert the smaller hole in the cartridge, screw the bulb and hang a chandelier over the suspension.
5. How to make a chandelier with his own hands from glass bottles

What do you need
- Glass bottles;
- machine for cutting glass bottles;
- sandpaper;
- decorative wire;
- suspensions for lamps;
- light bulbs.
How to do
1. Thoroughly rinse the bottle and clean off stickers, if any. Cut through the machine bedplate and walk along the edge of the cut sandpaper.
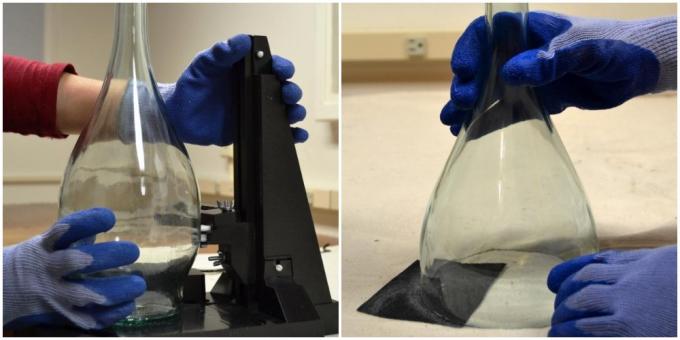
2. Pass the neck and attach the wire holder. Randomly wrap the bottle decorative wire and screw the light bulb.

What other options are there
In this master class bottle was attached to a wooden base and decorated with a chandelier artificial greenery:
6. How to make a chandelier with his hands in wood

What do you need
- Veneer rolls (very thin sheets of wood);
- measuring tape;
- pencil;
- scissors;
- iron;
- parchment;
- paper clips;
- glue gun;
- Pendant lamp;
- light.
How to do
1. Cut six strips of veneer 90 cm long.
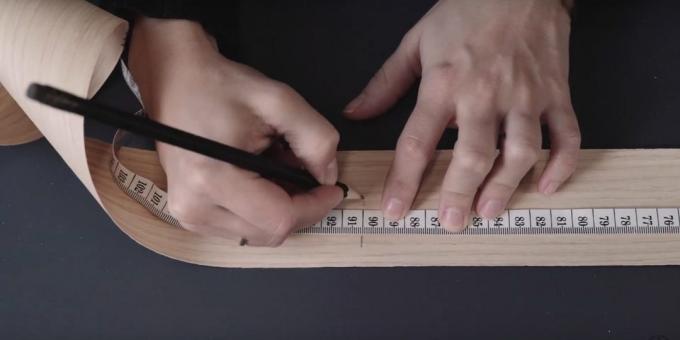
2. Progladte them through the parchment to veneer leveled.
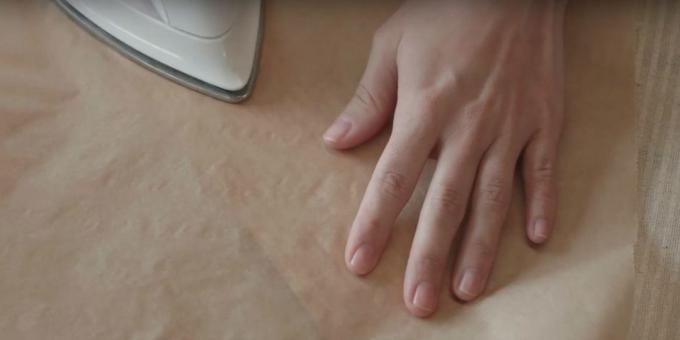
3. Place two strips criss-cross each other and secure with staples. Attach the side of another strip.
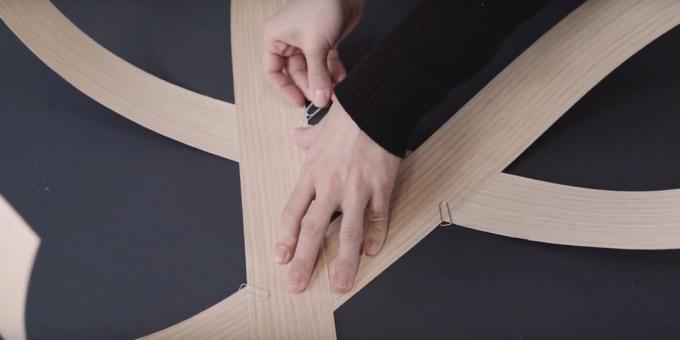
4. Make veneer another part of the same shape. In this triangle must be greater than the previous one.
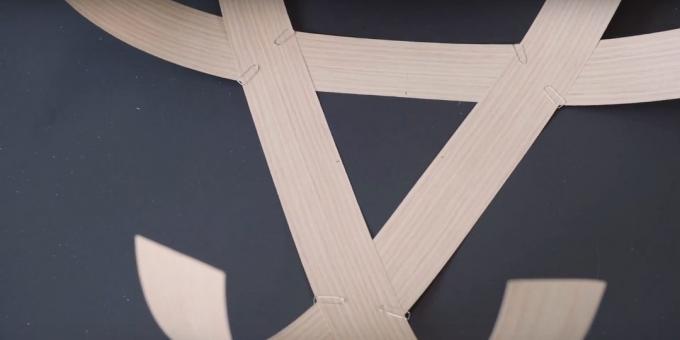
5. Place the parts on each other, as shown in the photo.
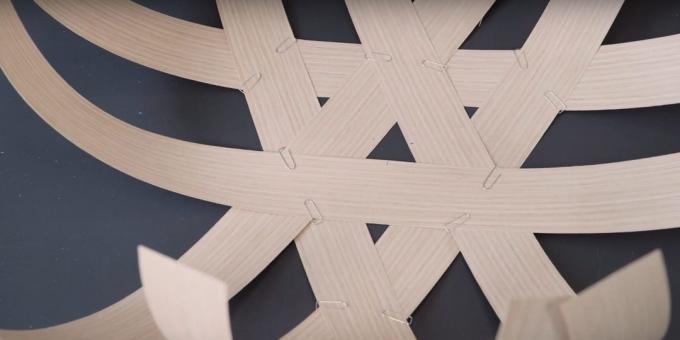
6. Draw the outline of a small triangle on the lower part. Circle also outlines overlapping bands on both parts. All the details are in the video below.
7. Remove the upper part, remove the staples from the bottom in one place. Lubricate the junction with glue strips and glue.
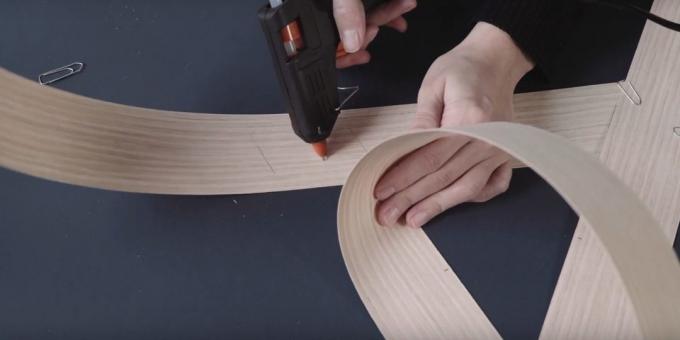
8. In the same way treat the veneer in two other places. Glue the upper part. Apply it on the bottom of the intended mark and attach using the gun.
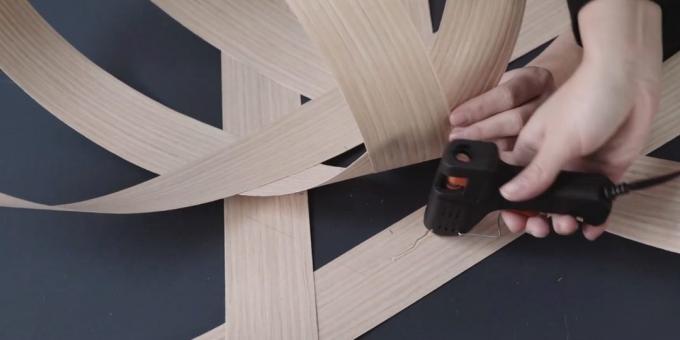
9. Connect the clips adjacent tapes upper part, as shown in the photos and in the video below.
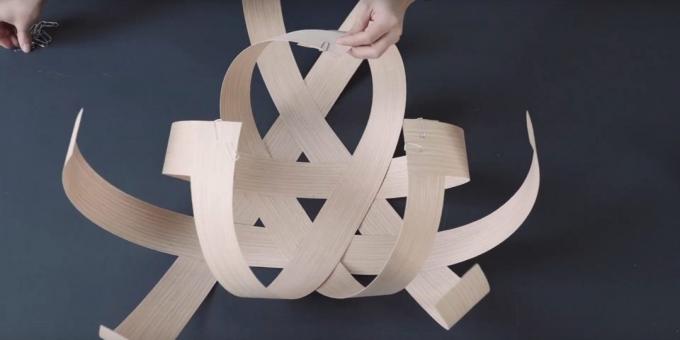
10. Fasten the neighboring strip lower part, holding them at the top.
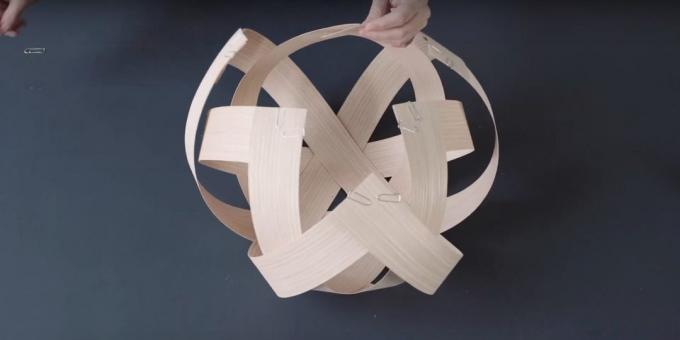
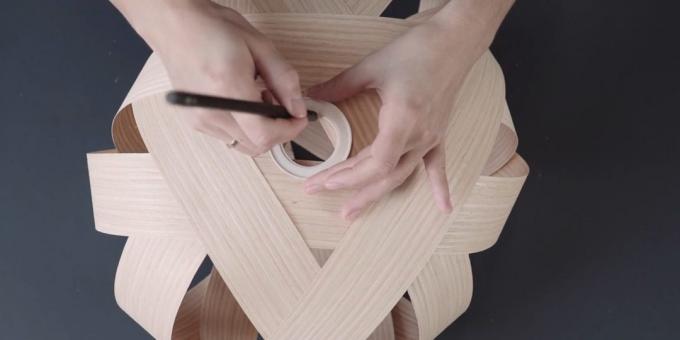
11. Glue the places connected by clips. On the back side in the middle attach the item to which the bulb is screwed, from the inside circle and the cut away superfluous.
12. Insert hanger, fix on the ceiling and screw in a light bulb.
What other options are there
Here is a classic lamp made of veneer:
This is the process of creating an unusually large chandeliers with thrown over wooden beam lamps:
And here's how make a beautiful wooden frame for old unsightly fixture:
7. How to make the chandelier with their hands from a plastic bottle
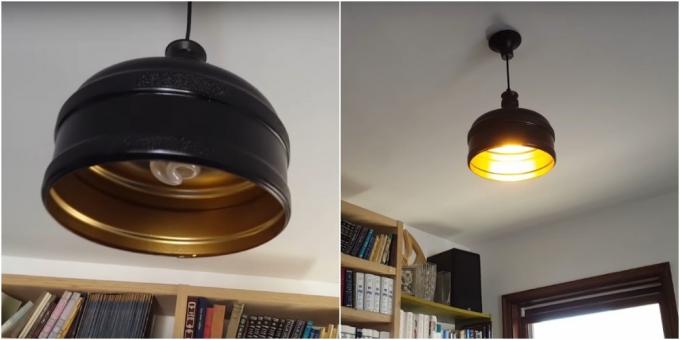
What do you need
- Plastic bottle volume 20 l;
- knife or other suitable cutting tool;
- gold spray paint;
- black spray paint;
- Pendant lamp;
- light.
How to do
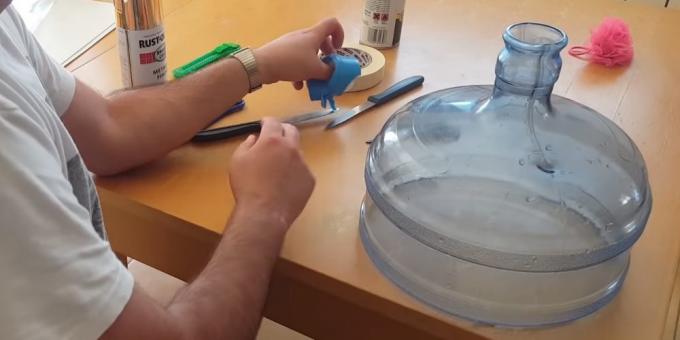
1. Carefully cut away from the upper part of the bottle. The bottom is no longer useful. Remove the cover.
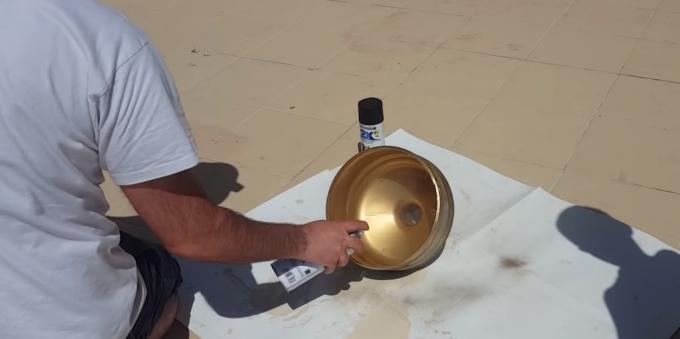
2. Paint the inside of the plastic with gold paint.
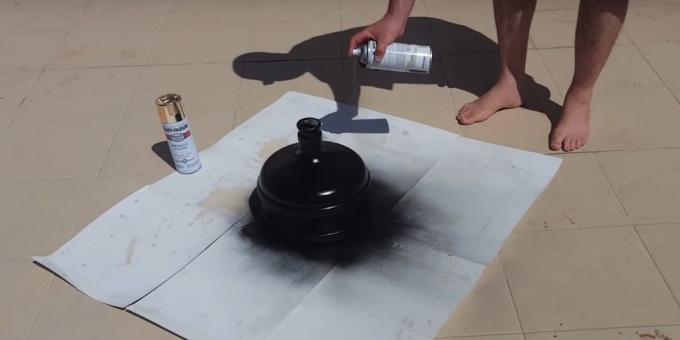
3. Outside cover it with black paint. Give the future a chandelier to dry completely.
4. Put on the chandelier in the suspension and screw a light bulb.
What other options are there
For the manufacture of this took five-liter bottle chandeliers and decorated with wallpaper remnants, folded in origami technique:
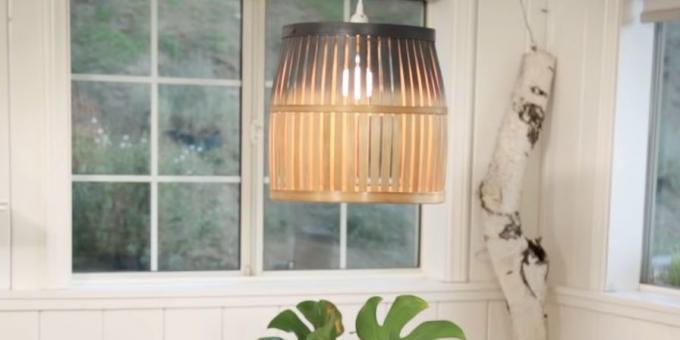
8. How to make a chandelier with his own hands from the basket
What do you need
- Basket (e.g. straw);
- pencil;
- knife or other suitable cutting tool;
- Pendant lamp;
- light.
How to do
1. Circle in the middle of the bottom of the basket holder. Cut through hole.

2. Insert the cartridge back and fix the inside.
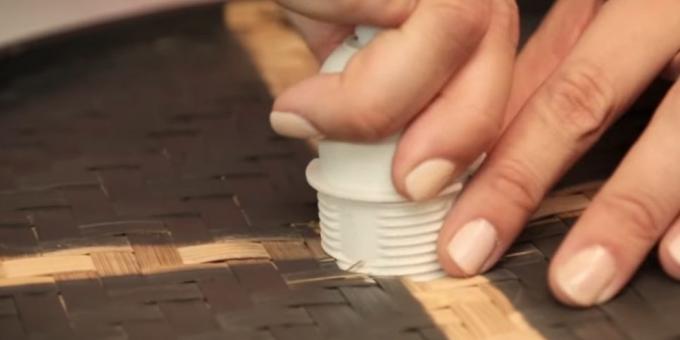
3. Screw the light bulb and hang a chandelier over the suspension.
see also👍
- 11 ways to transform the interior of the kitchen and not go broke
- 12 ways to transform the interior of the bedroom without repair
- 9 ways to make a hammock with his hands
- 10 ways to make a beautiful gift box with his hands
- 40 coolest fixtures with AliExpress

