How to add full support for the NTFS file system in OS X
Macos Technologies / / December 19, 2019
Any user of the operating system OS X, sooner or later faces the need to write anything on the drive with the NTFS file system. This can be an external drive or partition with Windows, you have installed along with MacOS. The result is predictable: Apple computers are perfectly read information from the storage media, but are helpless when you want to burn anything. Nevertheless, this problem is quite simple to solve.
The NTFS file system has been developed for Microsoft Windows NT family of operating systems and was to replace "old lady» FAT. And morally and practically obsolete file system is alive today, and OS X it works fine. Difficulties in the Apple operating system occur only when dealing with NTFS. There are several solutions:
- use the "Terminal" to activate write to NTFS for each drive;
- install the free driver, is added to the OS X recording support in NTFS;
- use paid solutions from Tuxera or Paragon.
In general, all decisions are the right to life and are located on the more complex to the simplest. You can manually activate a really write support for each individual drive with the NTFS file system. This method is the least practical and require at least minimal skills with the "Terminal". For this reason, we omit it.
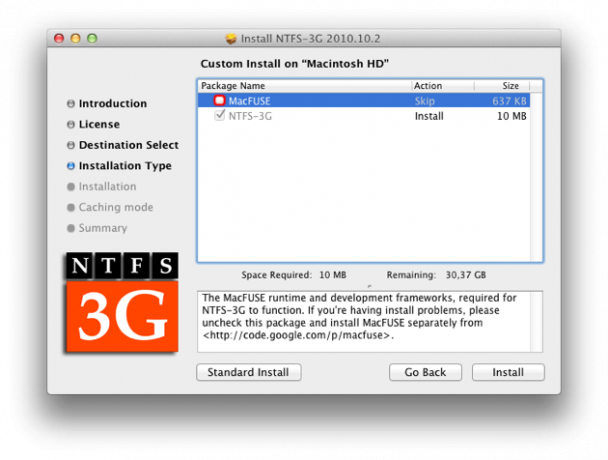
Instead, consider a much more complex and versatile solutions that can solve our problem once and for all. Let's start with the free driver called NTFS-3G. Immediately make a reservation: it is unstable with the latest version of OS X - El Capitan. Therefore, do not expect that the fall will support macOS Sierra. NTFS-3G is suitable for users who are using OS X 10.10 or older Apple operating systems.
Download NTFS-3G driver can here. We also need MacFUSE.

After loading all need to install MacFUSE, then - NTFS-3G. When you install the latest will need to specify the method of caching: select No caching. After installation, you must reboot your computer.
NTFS-3G options are available in the system settings. Better not to change anything here. Note that here you can remove the driver. Everything, NTFS support is implemented.
Now consider paid solutions. They are two: Tuxera NTFS and Paragon NTFS.
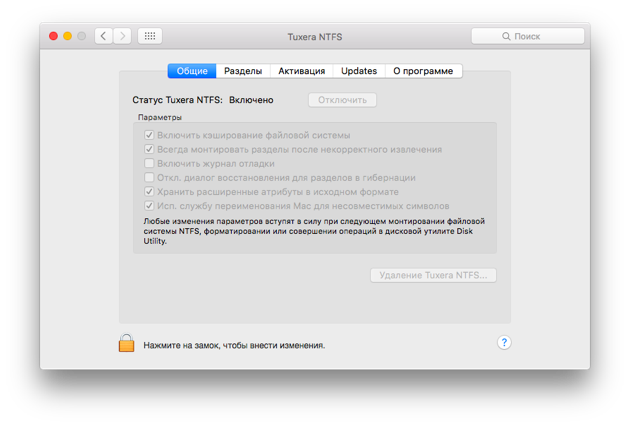
Tuxera NTFS, you can download at official website Developer. Available for trial, which lasts 15 days. The cost of the full version is $ 31. After installing require a reboot, and the settings are also available in the system parameters. In general, the decision of Tuxera will work immediately after installation and restart the system, additional configuration is required.

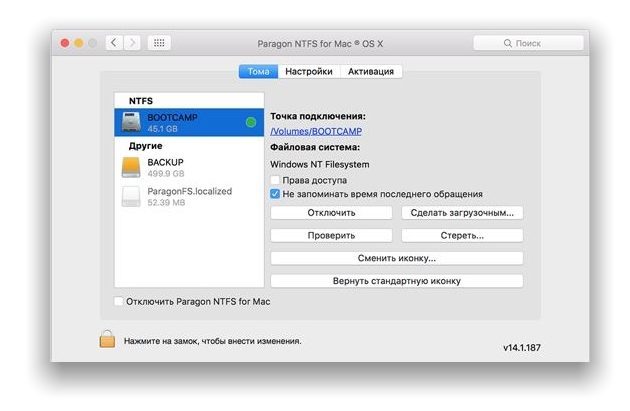
Analogue and main rival Tuxera NTFS stands Paragon NTFS. This popular driver will cost a bit cheaper (990 rubles), but also the validity of the trial version is less than 5 days. Download Paragon NTFS can here. The installation process is very simple, do not forget to reboot your computer. Get access to the driver parameters can be similarly, but their number is considerably smaller than that of a competitor. On the other hand, ordinary users do not care.

The most interesting thing is waiting in the testing phase: Paragon NTFS is slightly faster Tuxera NTFS. In addition, both the paid solutions stack NTFS-3G on both blades. So, choose a solution for entries for the NTFS file system should be based on your needs.
If you work with these drives you have very rarely, it makes no sense to get drivers from Paragon or Tuxera, because the recording speed, probably will not be critical.
If we work with NTFS-partitions you have to on a regular basis, it is necessary to look towards paid solutions. In this case, Paragon NTFS cheaper but has less flexibility for customization. Tuxera NTFS little more expensive, but has a large number of variable parameters. In addition, the solutions from Paragon faster write speed.

