
40
Views

So, you have installed a brand new macOS CatalinaBut something went wrong. For example, you are left without important applications and they can not be replaced by anything, or to understand that life without iTunes you are not nice. Return to Mojave in a couple of clicks will not work, but it is quite possible if you are willing to spend a few hours on a remote system and its recovery.
Because in the process we will reset the Mac to factory settings, you will lose all your files if you do not make a backup of Time Machine. Alternatively, you can send files to Dropbox or OneDriveIf the computer you recently and you have not just a bunch of overgrown important. Well, if you do a backup before upgrading. If not, do it now. For more information about how to use Time Machine:
How to make a backup on MacOS →
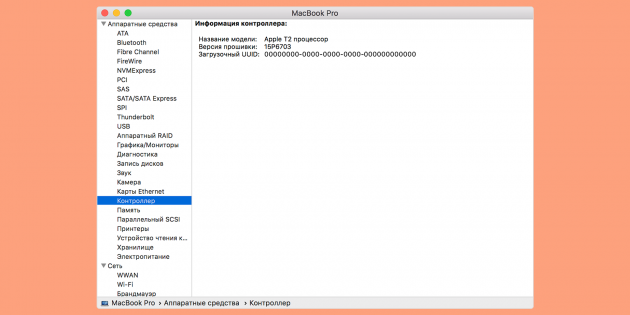
This step is necessary only for the MacBook Pro, MacBook Air and Mac mini 2018 and newer iMac Pro or 2017 and newer! If you have an older model without the chip T2, proceed to the next step.
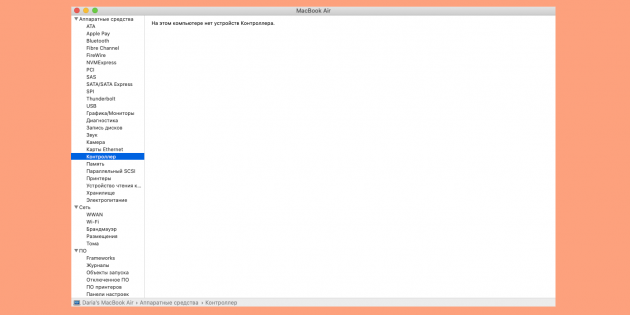
To verify that you have the security chip, click on the logo in the form of an apple> "This is the Mac"> "Report System"> "Controller". Here's what you'll see:
If your Mac has a chip T2, need to open the safe loading utility and allow the system to install from an external source. For this:

Utility window will appear. In "Boot from external media", click "Allow".

Although Mojave remained in the Mac App Store, search through it to find. But it is still available on direct link. Click on it and your computer will automatically open a page to the store. Click "Download".
To do this you will need to format the external hard drive and make it bootable (suitable and sufficiently large volume flash drive). To do this, navigate to the folder "Utilities" and open the program in the application list "Disk Utility".

Select the desired drive and click "Delete." Set the format to Mac OS Extended (Journaled).
Now you need to make a bootable USB flash drive. To do this, re-open the folder "Utilities" and find it an application "Terminal". Type the following:
sudo / Applications / Install \ macOS \ Mojave.app/Contents/Resources/createinstallmedia --volume / Volumes / DRIVE
DRIVE instead use the name of the stick or hard drive. Then press the Enter key to send the command. Next, enter the administrator password, and confirm the action.
Remove the connector from the drive with macOS Mojave, and washable computer. Restart and hold down ⌘ and R after the Apple logo, to go into recovery mode. Open the "Disk Utility", select a hard drive to your Mac and click "Delete." Follow the onscreen instructions to set up a new name and disk format.
If your computer came with macOS Mojave «out of the box", restart the system and hold down ⌘ + ⌥ + Shift + R. Mojave installation will start automatically. If you have an older model, connect to the Internet, insert the boot disk and restart the computer. When it starts to turn on, hold down the ⌥. This will give you to choose the boot disk. Select the desired drive and click "Continue".

So you roll back to an older version of the system, it now remains only to recover their data. Again, restart the Mac and hold down ⌘, and R. Select "Restore from Backup Time Machine». Confirm your choice, enter which drive the data to recover, and then click the last available backup Mojave.
If you downloaded your files in the cloud, just download them back and be engaged in the installation of the necessary programs.
Done! You have successfully retreated with macOS Catalina at Mojave.