How to make a kite with your own hands: 2 interesting ways
Miscellaneous / / May 27, 2023
You will need wooden slats, wrapping paper, and even plastic trash bags.
How to make a DIY paper kite
This simple kite can be made with the kids. The technology is very simple - if you prepare all the materials in advance, you will need less than half an hour.
What you need
As a rule, everything you need is usually at hand:
- Bright wrapping paper in a roll. But you can replace the usual one - take a sheet measuring 45 × 65 cm.
- Twine or thick strong thread.
- Thin sticks 40 and 60 cm long.
- Narrow tape.
- Pencil
- Ruler.
- Scissors.
- Needle with a large eye through which you can thread a twine or thread.
How to do
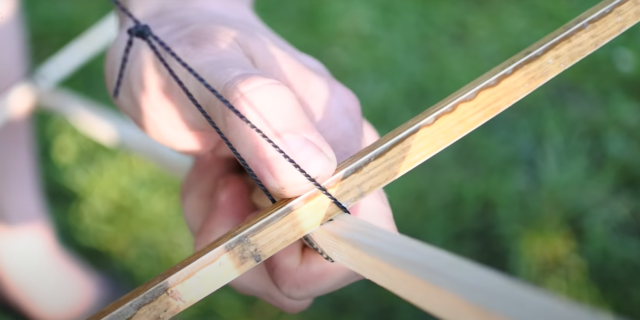
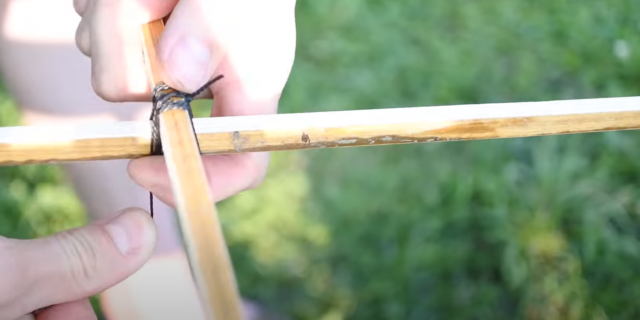
Step back 20 cm from the edge of the long stick and lay the short one across it to get a symmetrical cruciform design. Connect the sticks with twine crosswise. Tie a knot and cut off the excess thread.
Take a roll of paper. Lay the cruciform base on the wrong side, stepping back 2 cm from the edges. Cut off the required piece of paper. Tape sticks to it.
Bend all four corners of the future snake so that the paper touches the sticks, and mark the fold line. You can draw it with a pencil using a ruler.
Step back 2 centimeters from the fold line and cut off the paper corner - you will not need it. Do the same for the other corners.
Bend the paper along the marked lines and secure with adhesive tape. Glue its strips to the corners from the wrong side and the front side. Tape the base sticks to the colored edge. Cut off the excess to make the kite look neat.
On the front side, find the middle of a long stick and stick strips of adhesive tape on it in the form of a cross. Cut a piece of twine measuring 60 centimeters. Thread the needle. Leave a couple of centimeters to tie a knot at the end, and sew the stick to the paper through the sticker made from tape. Make two loops to secure the fastening and tie a triple knot.
You have secured the first end of the string. Sew the second in the same way to the upper corner of the kite. At the top, pull the twine at a right angle. Mark the top of the resulting right triangle. Tie a loop in this place - a handrail will be attached to it.
Measure 240 cm of twine - this is the tail of the future kite. From the cut corners, make several bows and tie them to a rope at an equal distance from each other. Sew on the tail.
Tie a rope of the required length to the loop at the head of the kite, and the kite is ready.
You will find all the details of the manufacturing process in this video.
How to make a DIY rokkaku kite
Traditional Japanese The rokkaku kite is shaped like a hexagon. Making it with your own hands is a little more difficult than the previous paper version. But you get a more stable and manageable design.
What you need
- Fiberglass base for spine. For example, a tube with a diameter of 25–35 mm. You can also use thin wooden planks or window glazing beads.
- Two carbon tubes for slightly smaller diameter ribs - they can also be replaced with a glazing bead.
- Decorative foil for sails. You can take a large dense garbage bag.
- Thick fishing line for lifelines and kite bridles.
- Rubber tube-compensator (optional).
- Decorative material for the tail. Rokkaku keeps well in the air without it, but this detail will be a good decoration for the design.
- Pencil.
- Ruler or tape measure.
- Hacksaw or jigsaw.
- Scissors.
- Wide tape.
How to do
Calculate the dimensions of the kite using traditional rokkaku proportions. The biggest indicator is height. For example, it can be equal to 120 cm. The width of the kite is 4/5 of the height, i.e. 100 cm. The side ribs are attached symmetrically about the center. The distance between them is 3/5 of the height, that is, 60 cm.
Cut out the frame pieces. Before that, measure the length of each of them, adding 1 cm to the calculated values.
Make cross cuts and notches at the ends of the ribs at a distance of about 1 cm from the edge. At the ends of the ridge there is one cut and horizontal notches. They are needed to secure the twine or fishing line.
Then you need to bend the ribs of the kite. In order not to damage the wooden slats, hold them a little over boiling water, and then gently bend them to make arcs.
Attach the fishing line to the ends of the ribs. Pass the fishing line through the cut, leaving a free end. Then make a few turns along the notch, securing the free end. Tie a knot. Attach the other end of the fishing line to the opposite end of the rib. Such a mount will allow you to slightly increase or decrease the length of the fishing line and adjust the curvature of the edges.
Attach the ribs to the spine with a loop and secure the connection by making a few turns crosswise.

1 / 0
Frame: AlexGyver / YouTube

2 / 0
Frame: AlexGyver / YouTube
Connect the fishing line around the perimeter of all the ends. Secure it carefully with cuts and notches. Make sure the corners are straight. You get a frame with a base of slats and ribs of fishing line.
Prepare the foil for the sail. If you are using garbage bag, make a rectangle out of it. Then put the frame on the film. It should be a little wider - a few centimeters of material should remain on each side.
Carefully cut off the excess plastic at the corners. Then glue the sail to the frame. To do this, bend the edges of the film so that the fishing line remains inside, and glue them with a wide adhesive tape.
To make the structure stronger, glue the ridge to the film with a few pieces of tape.
Now it remains to attach the bridle. The length of its rays depends on the height of the kite, but you can experiment with it. To begin with, it is worth taking as a basis a length equal to the height of the product. Then the length of each of the two lateral rays will be equal to two heights of the kite, the length of the middle one will be equal to one height.
Each beam is attached to the middle of the half of the rib. Glue the sails in the right places on a square of adhesive tape, make holes, thread the twine through them and secure the rib with a sliding loop.
Fasten the middle beam. Do this not with a knot, but also with a loop. So you can tighten the mount exactly in the center, and if necessary, move it.
Tie a handrail to the middle beam, and your kite is ready. It remains to check how it flies, and if necessary, increase or decrease the curvature of the kite's edges.
For more information on how to make a rokkaku kite with your own hands, see the video below.
Read also🔨
- 2 easy ways to weave a wreath of dandelions and other flowers
- How to make a slingshot with your own hands
- 13 ways to make your own bird feeder
- Origami for kids: 10 figures that everyone can handle
- 15 ways to make cool slime without glue


