10 ways to avoid blurred photos
A Photo / / December 20, 2019
Blurred images spoil the mood of many photographers. Lack of sharpness often causes failures in the microstock or failures in contests and competitions. Today, zoom to full size - a process nemudrony. This means that any blurred area does not hide. In this article you will find 10 tips on how to make pictures sharper.
1. Prefer one-point focus mode
Select AF point intelligently, with an emphasis on the main subject is. Prefer one-point focus mode (Single point AF) for each photo to move the focus point is on the object, which is the main in your picture. For example, the eye in the case of portrait. The most sensitive central point, but others can be used successfully.
2. Use the tracking mode only for moving objects
tracking mode (AF-C) is great for moving subjects, such as the bride walking down the aisle. The camera continually adjusts auto focus, until you press the button. However, when shooting static objects (landscapes, portraits) use the appropriate mode (AF-S), not to deceive audio chamber or herself.
3. Sometimes it is better to opt out of auto focus
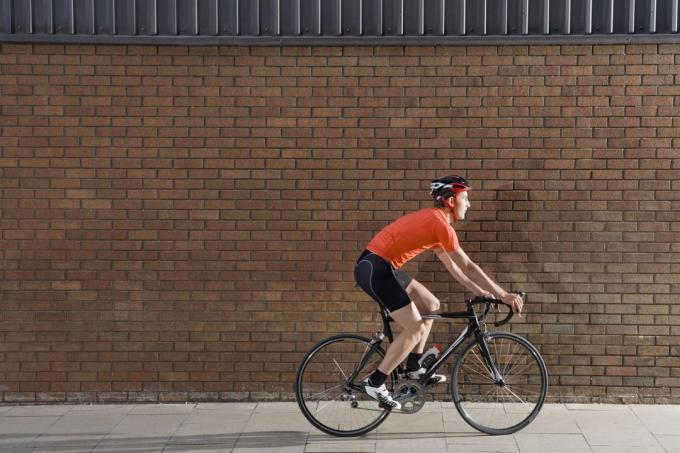
In some cases, the autofocus simply does not work (for example, when shooting is not enough contrast scenes). Then it is necessary to switch to manual focus mode (Manual). Especially it is convenient when you know the exact distance to the subject. For example, the pre-focusing by hand on the wall, which will pass by a cyclist, you can be sure that his movement will not go astray confused autofocus.

4. Check the correctness of the MF
Manual focus is useful, but it requires some practice. To increase the chances of getting a clearer picture, use a preview. Especially useful if the camera has a function Focus Peaking: highlight it on the screen areas that are in focus. But the more common Live View feature will help evaluate future picture on the camera screen.
5. Choose a shutter speed
In most cases, to get quality shots help clear a tripod. But if you're shooting handheld, it is worth remembering that the delay must be short. In poor lighting conditions, increase the ISO. Regardless of the model of your camera, try to stick to the rules:
The numerical value of the shutter speed must be greater than the focal distance of the lens (e.g., 1/250 sec to 200 mm lens).
6. Choose an average value for the diaphragm
Of course, the idea to shoot with wide-open aperture is very attractive: romantic background blur always makes an impression. However, it requires special care in selecting the focus point: areas that need to be sharp, such as face and hair in the portrait should not fall into the feathered area. Too narrow aperture, on the other hand, may require more exposure. Therefore it is better to give preference to the average values for the opening of the diaphragm - from about 5.6 to 11.

7. Watch out for the noise
High ISO value allows higher shutter speeds. However, the picture with the unwanted noise may occur. So do not overdo it with high sensitivity. When insufficient light will strike a balance between the shutter speed and ISO value, and at times to resort to the use of a flash.
8. Adjust the sharpness of the finished images
No matter how good your camera is, in almost all the shots, it makes sense to increase the sharpness with a photo editor. The main thing - do not overdo it: pay attention to borders, achieving a balance between noise reduction and the lack of grain.
9. Do not skimp on the lenses
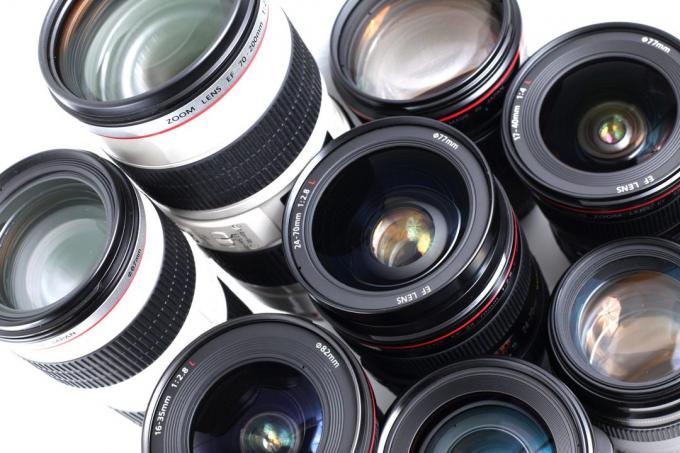
Everything is simple: the more expensive the lens, the higher the chance to get the best shots in a wider range of shooting conditions. If funds are limited, it is worth considering the option of buying more professional b / a lens instead of a new amateur. Often, such an object can not be practically used since been bought rashly, and you can save 30-50% percent.

10. find support
Even if there is a tripod, you can find an alternative:
- buy an inexpensive flexible mini-tripod,
- leaning against a tree or wall,
- in extreme cases, put in a bag rope length of 2-3 meters, to build a loop stepping on you will be able to give additional stability to the camera.


