What is felting and how to deal with
Educational Program Inspiration / / December 19, 2019
What is felting
Felting - a technique of felting wool with needles, filtsevalnoy machines or soapy water.
This type of needlework is suitable to anyone who wants to try himself as a designer. This is a very exciting: you learn how to create toys, accessories and decorative items. Crafts can give to friends and even sell.

My friendship with wallow did not start immediately. At first I tried beading, decoupage, embroidery. But for how long I do not get carried away. Another thing felting - I immediately realized that it was forever. I love wool for warmth, suppleness and a magical ability to take any form. Fooling with sad thoughts in my head it is simply impossible. You take to work - once there is a smile on your face and a good mood.
Alesya Kravchenko, toy-maker
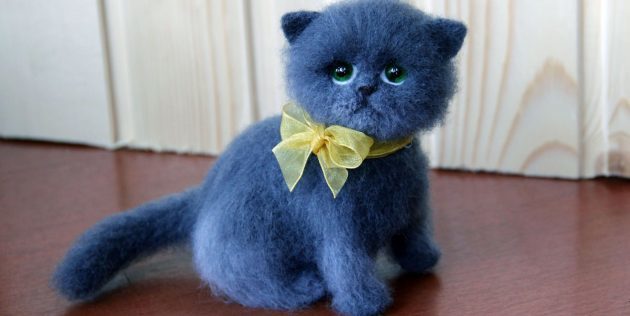

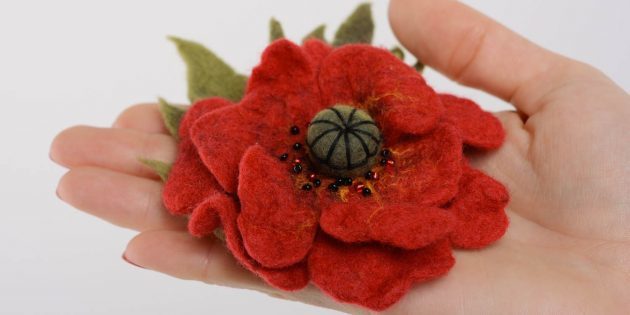

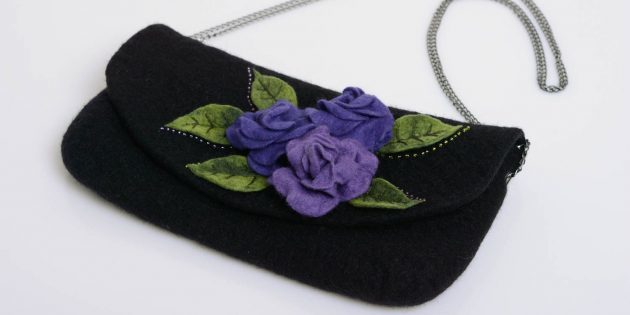
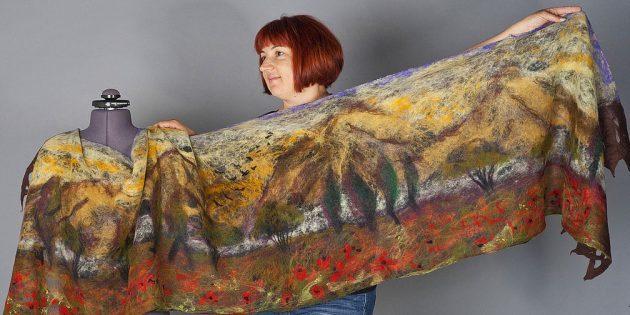
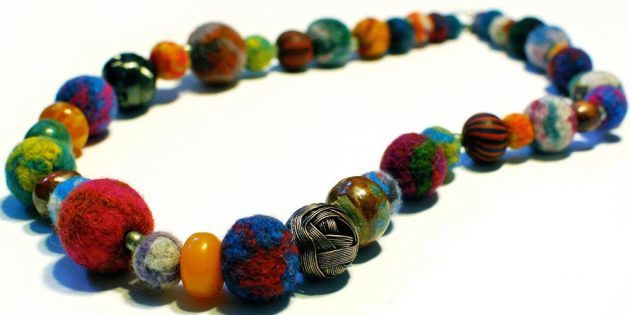
What is felting
There are two ways of felting: dry and wet. Using a dry create volumetric toys. wool hand piece formed into the desired shape, and then a special needle is pierced many times to matted.
Wet increasingly being used for flat products - panels, bags, clothes. From lump wool manually formed shape is placed on a flat surface and wetted with warm soapy water. Wool fibers fall down and form a web.
Alesya Kravchenko believes that dry wallow can be practiced even in the park or cafe. Suffice it to take a material and tools. But with the wet it will not work, because it is necessary to plant a soap solution. And to correct the error is more complex: if a hole was formed, it is necessary to attach a new piece of soapy wool. With the dry version is simpler: if you sculpt from plasticineIt is always possible to quickly remove the needle defects.
What are the tools and materials needed for felting
They can be bought in the departments of products for art and crafts or to order from online stores.
Wool for felting
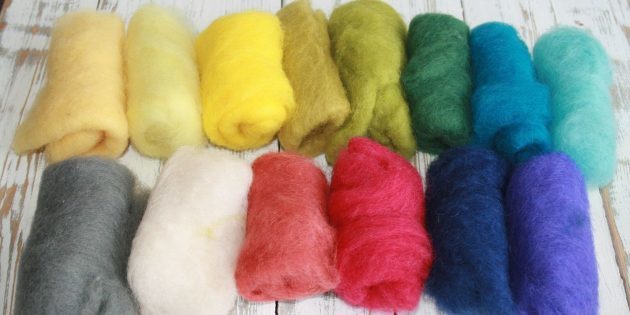
Colored wool for felting is fine, and coarse semifine. It is best suitable rough or Semifine: she will tear in the process. But thin is not worth taking - it's easy to mess up the needle.
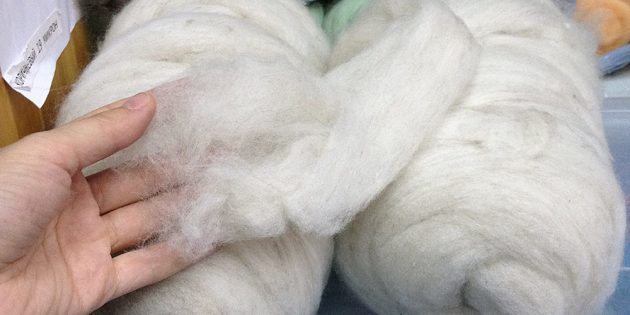
For the basics toys are often used cheap unpainted low quality wool - Sliver.
Externally wool looks like kardochos (cotton wool) or combed sliver. Kardochos - it is tangled mass, it is not necessary to prepare for work. Combed sliver - straightened material, it will have a good mix up before fooling, or villi are poorly interconnected.
If you newcomer, Take kardochos - it is easier to cope with it.

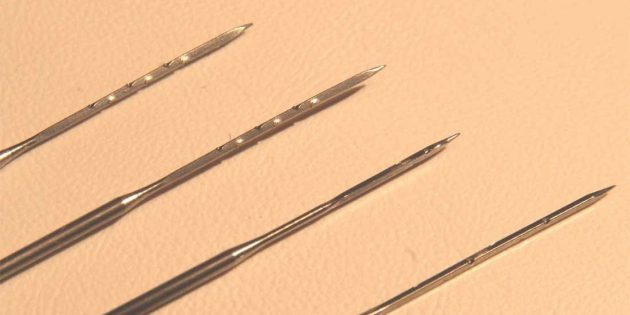
Special needle felting
They have notches for which in the process of clinging wool. For different stages need several kinds of needles:
- triquetrous - the most simple, with three sides and on each indent. It is generally used at the beginning of felting;
- stellate ( "asterisk") - on the one face more than the previous one. Useful at the final stage and also when the product is necessary privalyat flat parts;
- castellated - in other instruments notch located on the entire length of the faces, and her only at the end. this needle privalivayut toy hair and eyelashes;
- reverse - incisions are made in the opposite direction, allowing you to pull the wool villi;
- needle-wishbone - easily catches the smallest details;
- twisted - twisted in a spiral, so well captures the material. It is used at the end of the work, where the basis is already matted.
On packages of needles sizes writing instruments. They are divided into ultra-thin (denoted by numbers 40-43), medium (36-38) and thick (19-34).
The product always start fooling thick needle, gradually taking more subtle. Finishing touches perform a very delicate instrument, because it is difficult to pierce a thick matted fur.
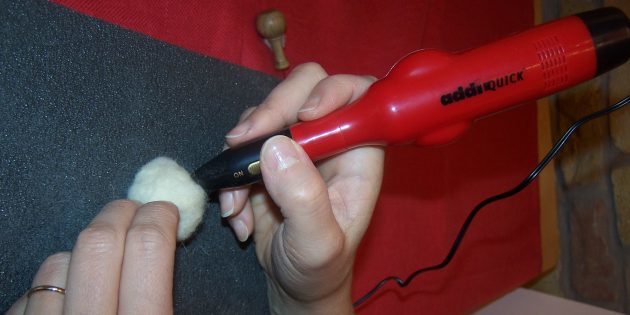
Some artists use for dry felting filtsevalnuyu machine that helps faster process material. But it does not necessarily buy. If you're new, and yet want to create toys for himself, it is possible to dispense needles.
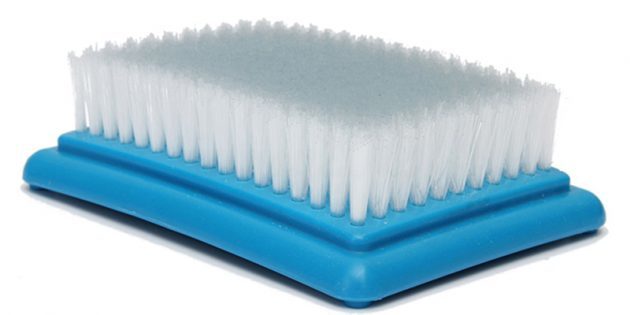
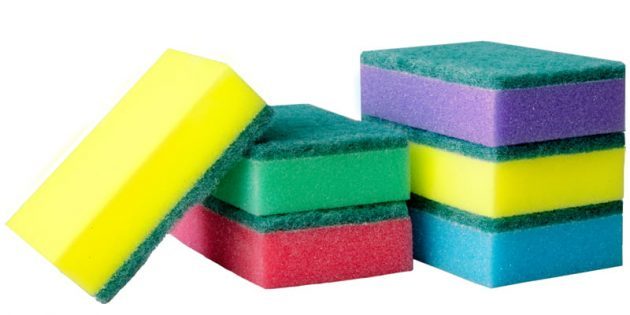
Substrate Felting
It will protect you from needle pricks. Before the puncture instrument, wool placed on a substrate, not held in the hands. You can use a special brush for felting or regular economic sponge.
decorative elements
Beads, ribbons, lace, beads, rhinestones, buttons, lace - all decorate your toy and make it more original.
additional tools
For finishing toys need scissors, sewing pins, glue, crayons or pastels, toothbrush.
Thimbles
They will save your fingers from injections in the process of felting.
How to make your first toy in the felting technique
We propose to create a fluffy chicken in a dry felting by hand, because it is a simple technique, which is suitable even for beginners.
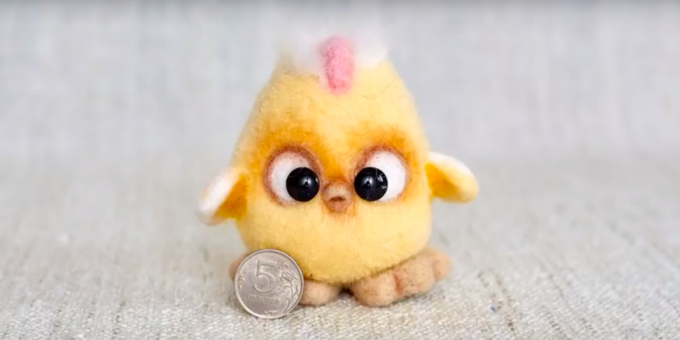
What you'll need
- Yellow wool - 50-70 g;
- beige wool - 30 g;
- pink wool - 20 g;
- Sliver - 50-70 g;
- thick, medium and thin triquetrous needle;
- thin or average reverse the needle;
- substrate;
- thimbles;
- scissors;
- Toothbrush;
- glue;
- finished glass or plastic eyes;
- two sewing pins;
- colored crayons or pastels and paint brush.
As stringy toy
1. First make the torso. Take the wool for the base of toys - Sliver. Tear it apart, put the pieces on top of each other, putting a few pieces. crushes material hands, Giving a rounded shape.
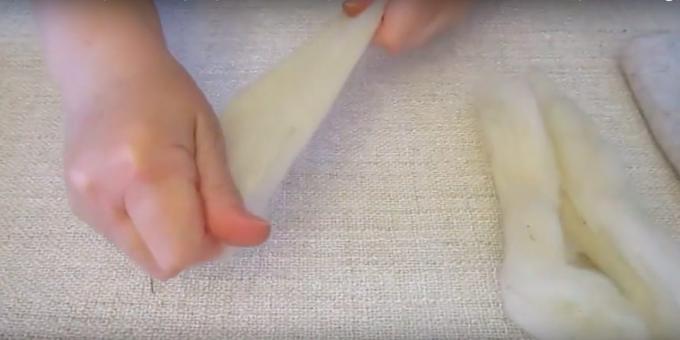
2. Prepare the substrate on the table, put his fingers on thimbles. Take a thick or an average three-edged needle. Stick the deep in her coat at right angles, hands giving the product a ball shape. Notches on the instrument will cling to lint and confuse them with each other. Gradually, matted wool, become dense and firm, but not too hard.

3. Tear off a little material and wrap it around the clump, spread evenly on all sides. Continue to pierce the three-edged needle, connecting a new coat to the substrate. So again, the product will be dense.
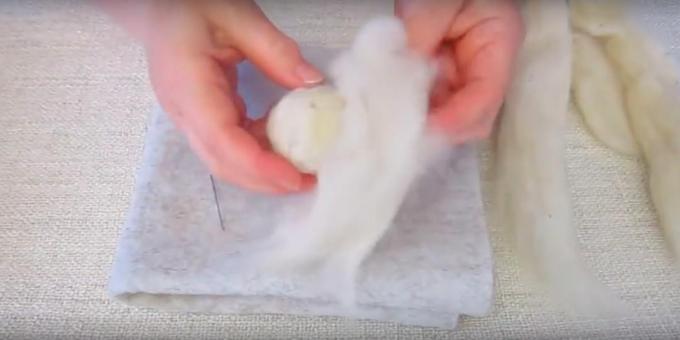
4. Now tear off a few pieces of genuine yellow wool and wrap it in the trunk of Sliver. go ahead joining materials three-edged needle, as we did earlier.
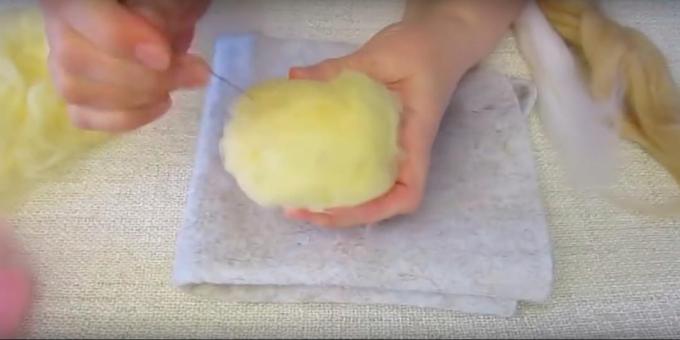
5. Tear off two pieces Sliver and three yellow wool. Crumple each hand, forming droplets. On unpainted part above put yellow. Material trihedral puncture needle holding fingers on the substrate. So matted wool from Sliver and two small wings. The process forms feathers. By pulling the edge of the flap upwards so that the material is stretched and turned round a bend. Treat it with the needle. Then exactly the same pull the wool on the other end and in the middle of the wing. We get something like waves. The tail is the same, but without the Sliver.

6. Tear off a few pieces of beige wool and pierce it with the three-edged needle many times, creating a triangle. Then, create curves, both wings. Take exactly the same material and make the second leg. A little more wool beige need for beak. Hands blind by a cone or a triangle, and then pierce it, until it becomes thick. By the same principle of pink wool matted small flat semi-circular scallops with or without curves - for wish.
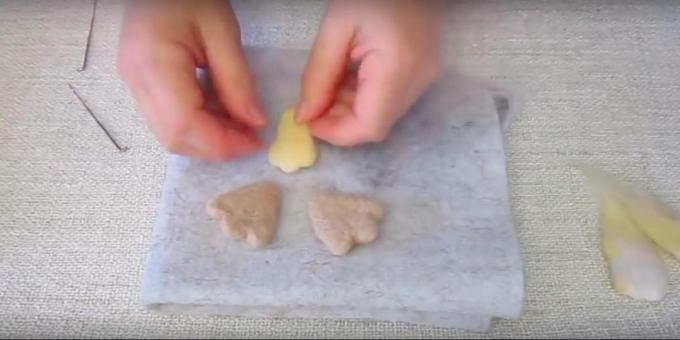
7. Take more Sliver and matted two small flat roundels. Pierce their three-edged needle, holding the hand on the substrate. This preform for the chick eye.

8. Take the opposite needle and stick the shallow into a ball. So the chicken body becomes fluffy.
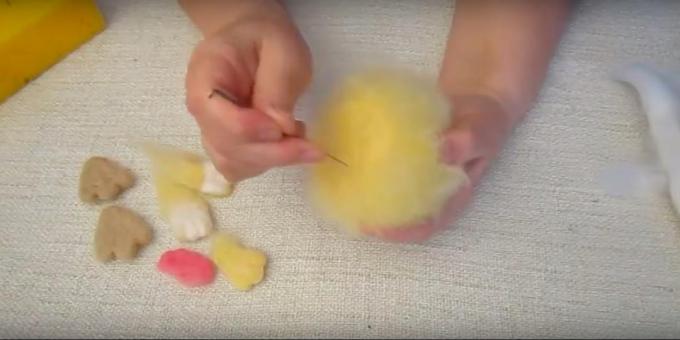
9. Attach to yellow torso piece Sliver - a tail. Top comb attach the narrow part, with a base. Pierce the material of medium or fine three-edged needle, combining all three elements.
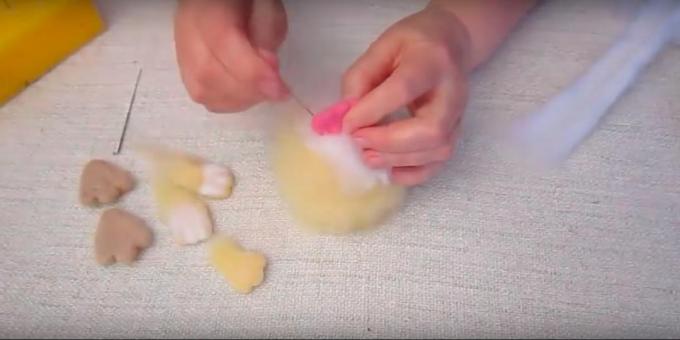
10. Just below the scallops locate two adjacent circular blanks. So they do not slide off, attach them to the body with sewing pins. Now dump medium or fine needle trihedral eyes with little body, piercing and kruglyashi basis. When the parts are attached, remove the pins. Under the eyes and beak fix hand privalyayte same way.
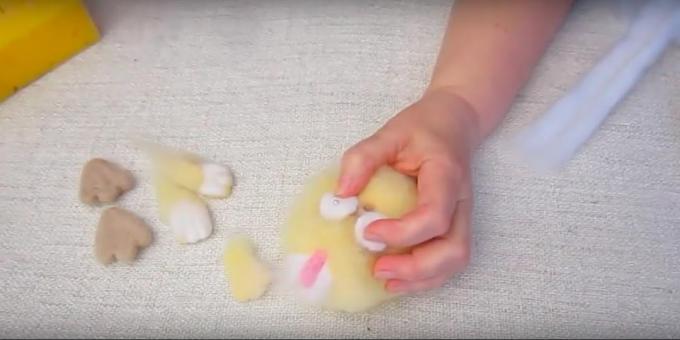
11. Attach the sewing pins wings on the sides of the white side up calf. Pierce the details of the fine three-edged needle, connecting with the base toy. Likewise privalyayte legs below the torso, and rear - the tail.

12. Inspect the toy. If somewhere wool sticks out unevenly, then align the scissors and smooth toothbrush. Chicken should be fluffy, but not shaggy.

13. Form a thin three-edged needle small depressions in the eyes - the eye socket. Then glue the finished plastic or glass eyes.

14. Pastel crayons with a brush or markers apply the final touches - webbed legs, eyelashes, feathers on the wings and mouth.

Video will help to better understand how to move the needle and play the wool.
What other options are there
Toy kitten in dry felting technique.
standing a fox in dry technique.
Flowers of wool in the dry felting technique.
How to try the technique of wet felting
First we need to learn how to properly lay out wool.
And in this video detailed instructions on how to create the first toy in the wet felting technique, e.g., poppy.
Useful resources for felting
Sites and Forums:
- Club.osinka.ru - Forum masters, Val wool sweaters. You can ask for advice, share experiences, to watch and discuss other people's threads.
- ToySew.ru - in "Felting" is more detailed classes with photos and video.
- Livemaster.ru - master classes and useful articles about felting.
- Bolshebnye-ruki.rf - several training manuals, articles about materials and tools for felting.
- Delaemrukami.org - here you can learn to play the clothes and accessories.
YouTube-channel:
- Elenatolstaya - the author's step by step lessons felting wool toys.
- TV practice - playlists "Felting toys" and "Painting fur" can be seen workshops felting school.
- Eugene Hristoforidi - on your channel master felting shares the secrets and techniques of wet and dry felting.
- Felting & felting with Hope Elpis - channel with detailed copyright learned felting.
Communities and blogs:
- Felting wool | fELTING | Chest hair - a group of "VKontakte", where you can watch craft ideas, share their experience and interact with the participants.
- Inga.valyanie - Instagram blog hostess teaches felting, talks about personal experiences and reveals the secrets of felting beginners.
see also🎤🎈📚
- How to start to draw, if you have never done it
- 9 ways to draw nicest seals
- 6 ways to spur the imagination and creativity to get out of the deadlock
- What is the lettering on it and how to make
- 7 reasons to take a photo, and to radically change their lives


