How to manually update your Nexus to Android 6.0 Marshmallow
Android / / December 19, 2019
Update Android 6.0 Marshmallow already happened and is distributed among the supported devices Nexus. Unfortunately, the update over the air does not come all at once and did not. You can get "six", reading these lines, an hour, a day, or maybe three weeks. I do not want to wait? I'll talk about how to manually install Marshmallow or any other supported version of Android for smartphones and tablet Nexus.
Attention! The first thing you need to back up all your data. Copy all of the photos are on your device, videos, documents and other information you need in a safe place.
A manual update will inevitably lead to the complete removal of all user data from the device memory, and with due bad luck can turn your Nexus in a brick. All subsequent actions you do at your own risk!
download image
Manual installation of Android comes from the image. Find and download the desired image can be at corresponding Google Developers page. In our case, being installed Android 6.0 on the Nexus 5, and therefore we find in the list of the device.


Download and installation tool of the boot image to the device
In order not to waste time and effort to download and install the entire Android SDK, it is recommended to apply to the utility ADB Installer, available at XDA-Developers. here Direct link to download with Google Drive. Utility weighs only 9 megabytes, its installation is very simple and takes less than a minute.
Do not be alarmed DOS-style-interface. We confirm each request English «y» and pressing the Enter.
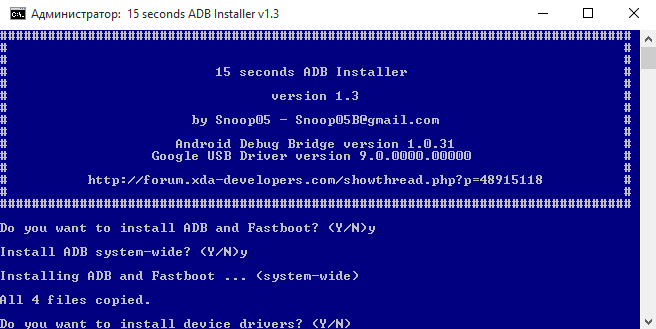
We agree and install Google USB Driver.
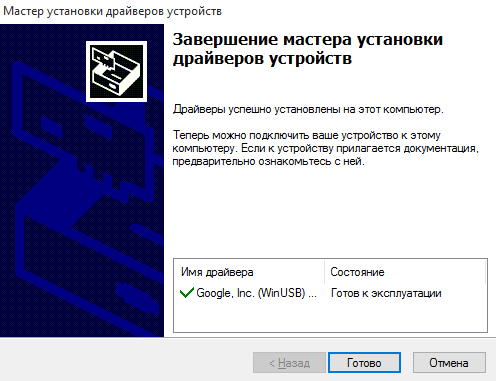
Now, if you look at the root of the C drive of your computer, you will find a new folder adb. It contains everything you need to manually install Android image.
Preparing to install image
We return to our image that has already downloaded and stored on the disk as TGZ-archive. It is necessary to unpack any suitable archiver. For example, 7-Zip.
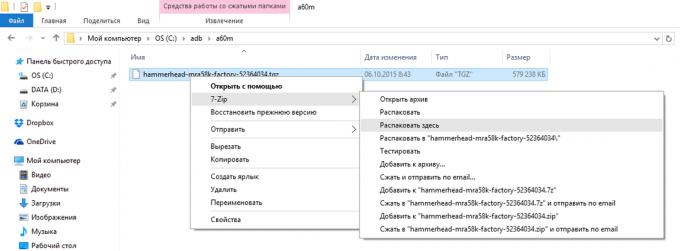
TGZ-archive conceals another file, this time in the TAR format. He, too, need to unpack. As a result, you'll have a folder here with such content.

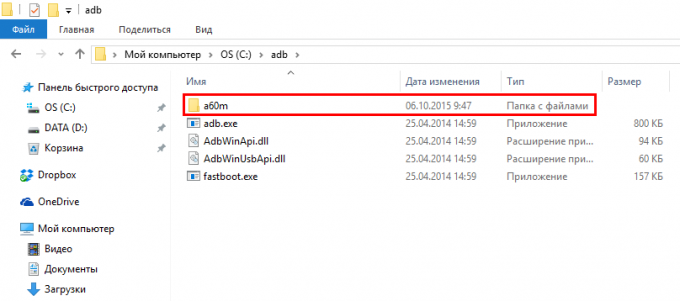
For reasons of convenience, this folder is best to give some short name (for example, I chose a60m). A little later, you will understand the meaning of a short name. Also, do not hide it in a dozen sub-folders. It seemed best to put the folder with the unpacked image in adb folder. It turned out this way.
Preparation of the mobile device
The process of preparation is almost finished, and it remains only to make the necessary settings on the mobile device.
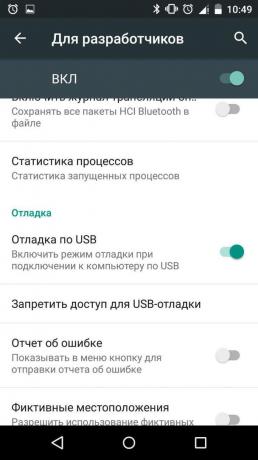
To begin, turn on debugging via USB. To do this, go to "Settings" and scroll to the bottom of the screen. Here you need to find the item "For Developers".

If this item is not present, go to "Settings" find the "About phone", the last in the list there is "Build number." Tapan on it seven times.
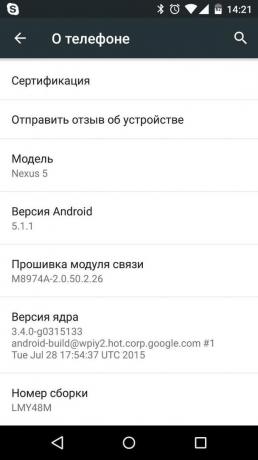
After receiving reports of the status of the developer back to the "Settings» → «For Developers", find the item "on the USB Debugging" and include it. A warning will appear - confirm.
Checking the status of the bootloader
Turn off your mobile device and turn it on again. At the beginning of the download, you see a black screen and white lettering Google. If on the same screen at the bottom portion thereof is drawn open lock, the next step you can skip.

If there is no padlock, then we need to unlock the bootloader.
unlocking the bootloader
Connect the mobile device to the computer via USB and allow debugging.

Run the Windows command prompt as administrator.
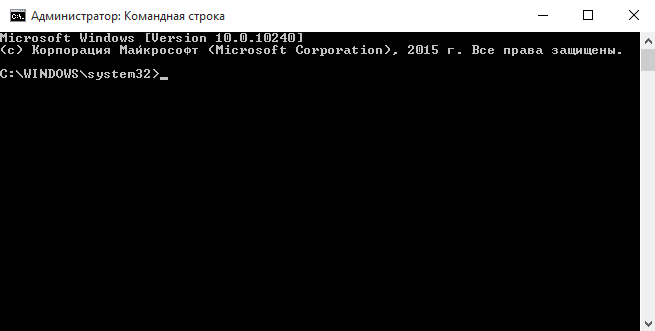
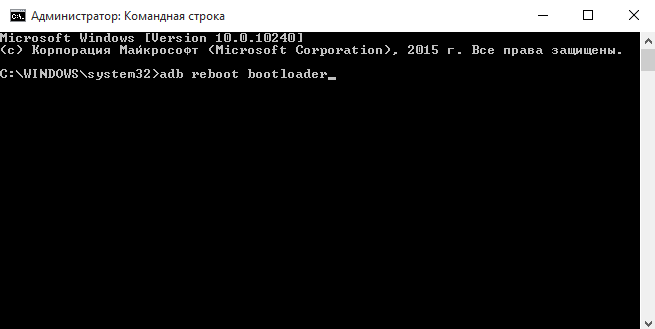
At the command prompt write:
adb reboot bootloader
Here is a menu appears on the mobile screen.

Pay attention to the LOCK STATE line. Now the bootloader locked.
Attention! The following command, in fact, will reset to factory settings, all your applications and data will be removed from the device!
To unlock the bootloader write in the command line:
fastboot oem unlock
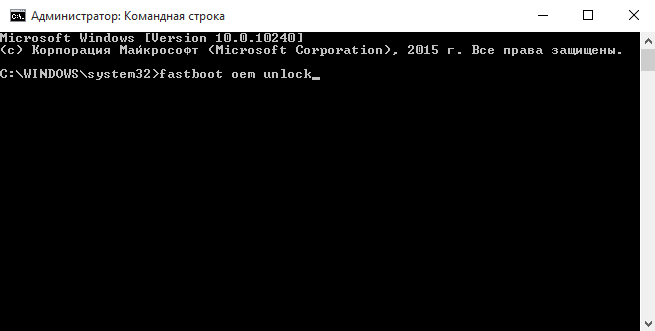
On your mobile device a warning and a request to confirm the operation will appear. With the help of the volume, select Yes and press the power button buttons.

We are waiting for the command line interface and the inscription OK message Finished appears.
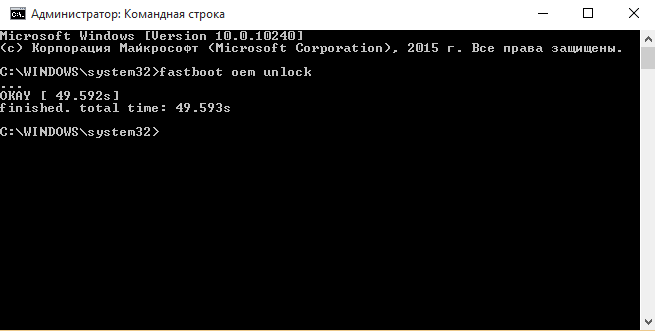
Now the parameter LOCK STATE bootloader on the screen changed to Unlocked, and your Nexus is ready to accept the new Android.

the magic begins
We go back to our extract the image. Inside, in addition to other files, you can find a script flash-all. Our task - to run it from the command line. You can do this once in an image folder. Change Folder command is performed on the command line cd.
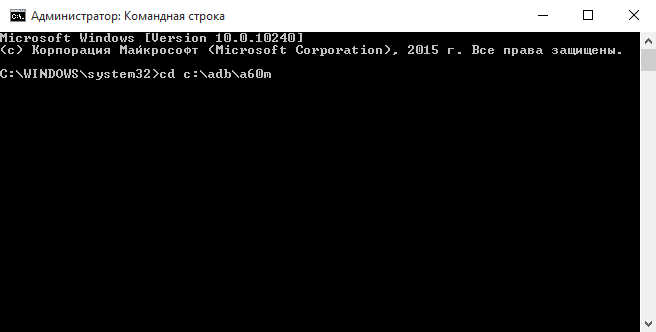
If you did everything as well as I do, then your folder called a60m way, too, and is located in the folder adb root of the drive C. To get into this folder from the command line run:
cd c: \ adb \ a60m
And here it is - the moment of truth. Writing to flash-all command line.
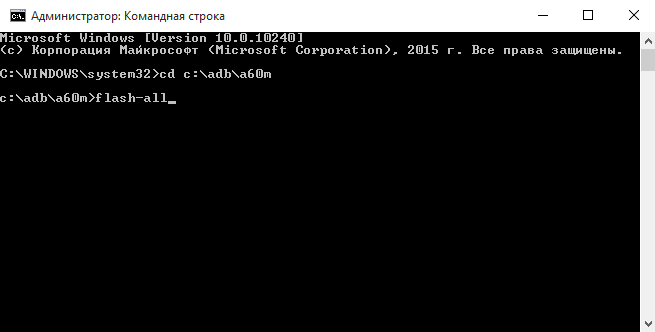
Installation begins. The process takes a fair amount of time.
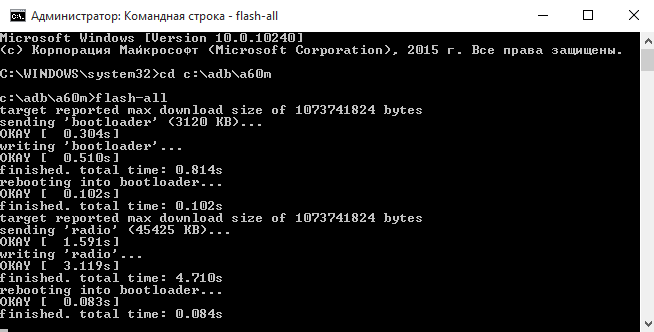
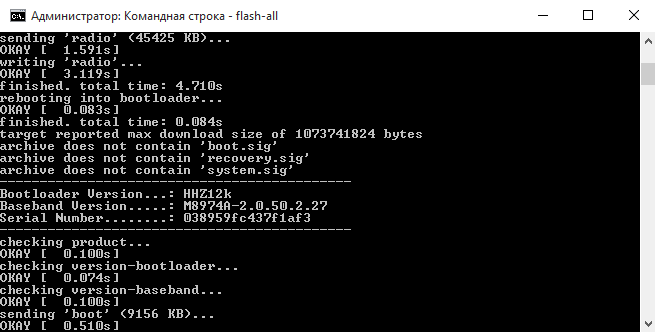
Be patient and wait for the command line interface, you are prompted to press any key to exit from the command line.
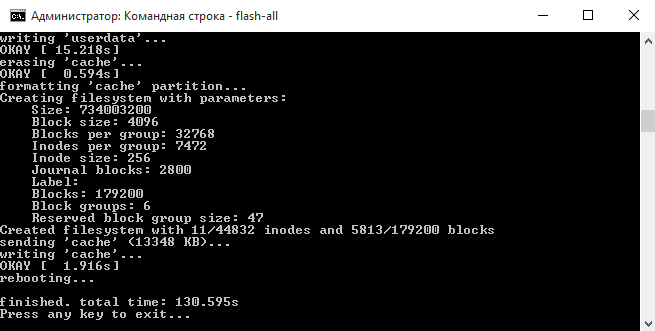
Security for the sake makes sense again to close the bootloader. To do this consistently perform at the command line when connected to a PC mobile device two commands, and then press the power button.
adb reboot bootloader
fastboot oem lock
Do not forget to turn off the USB Debugging in Settings for developers. You can also delete a computer folder with unpacked properly.
Done!
Please accept my sincere congratulations. Now you know how to manually install any supported version of Android on your Nexus.


